
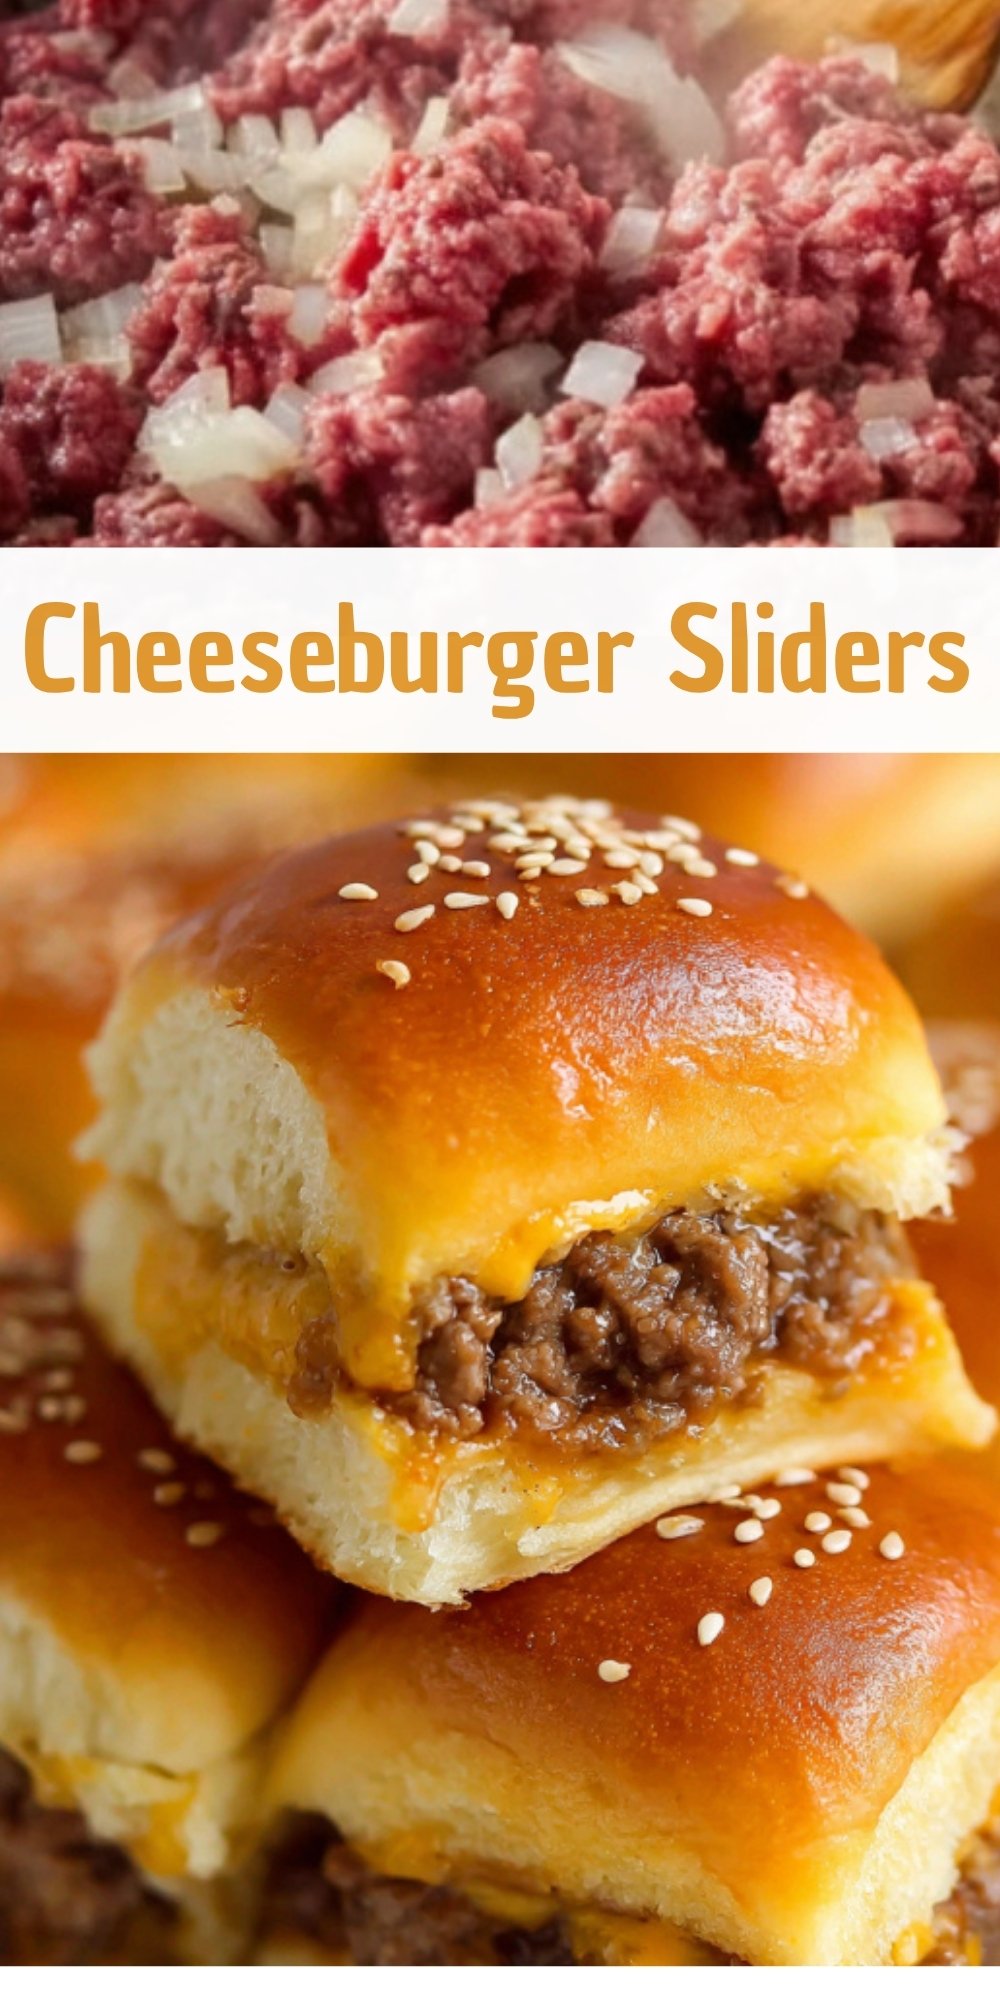
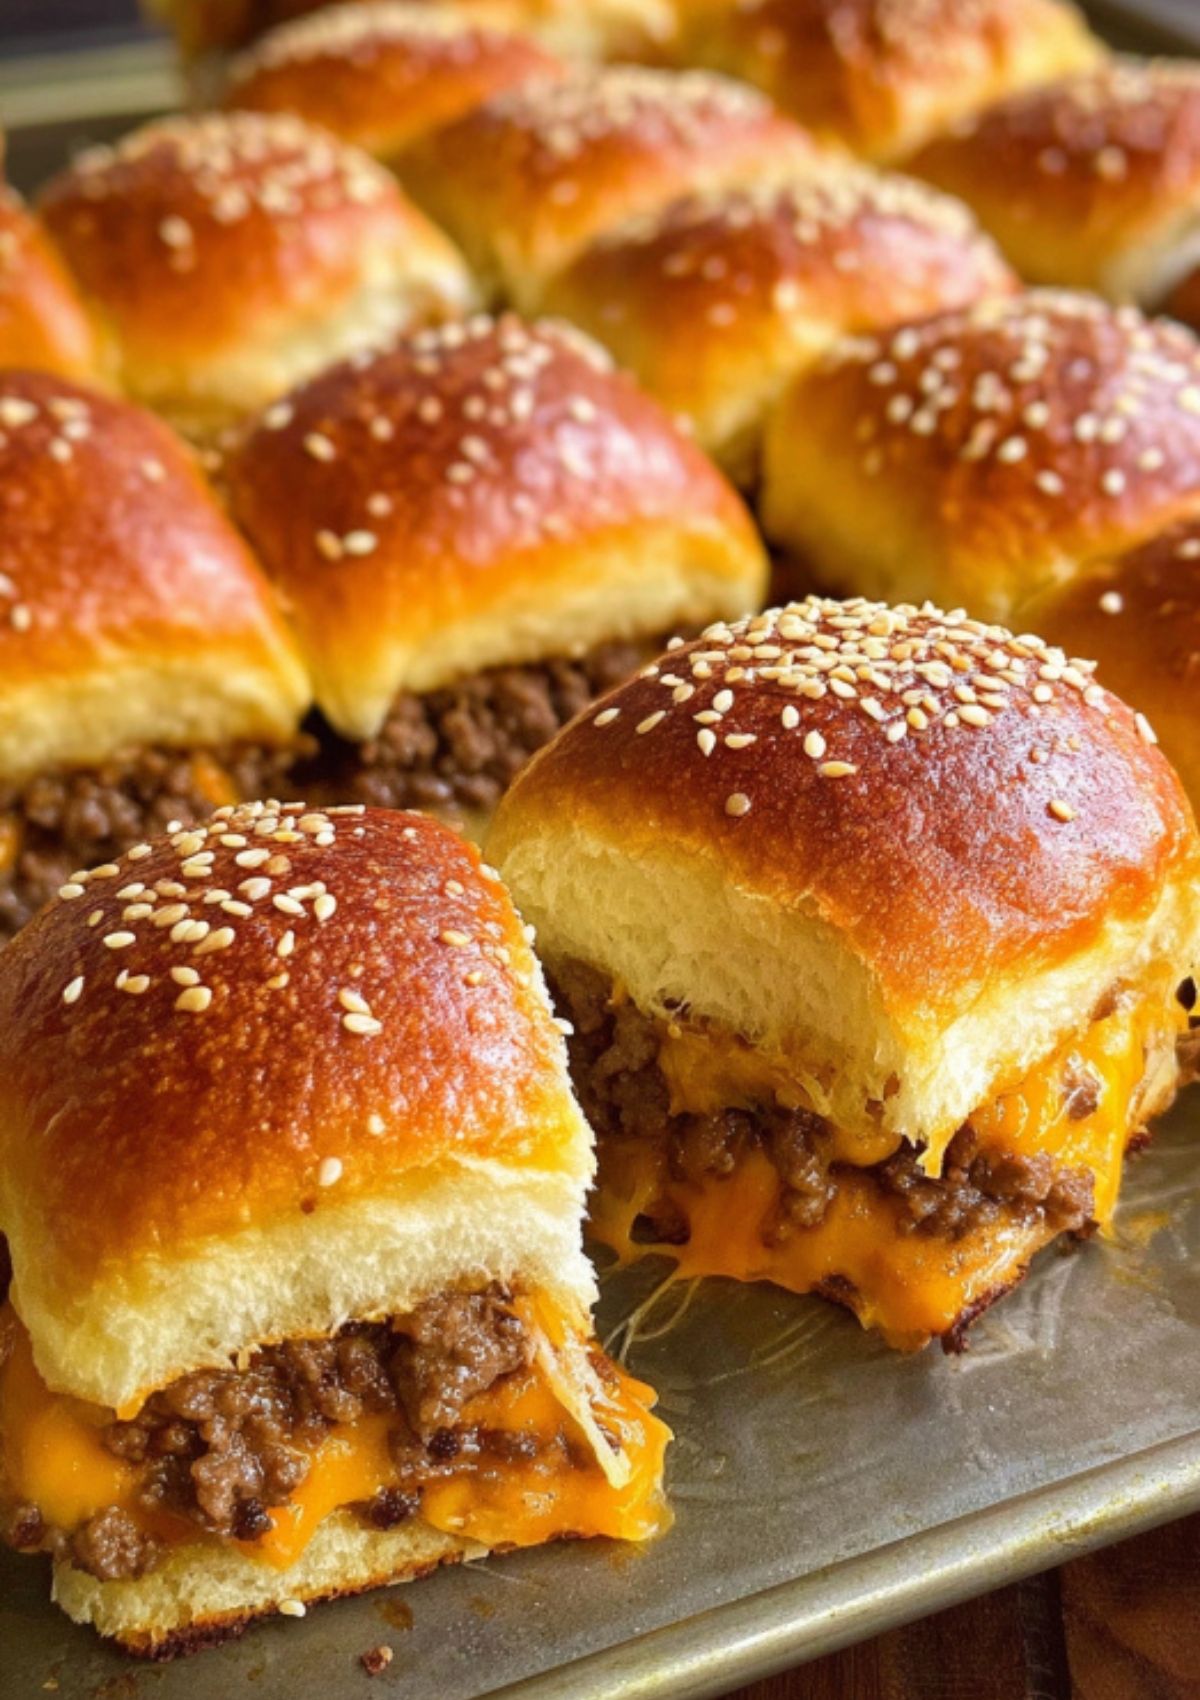
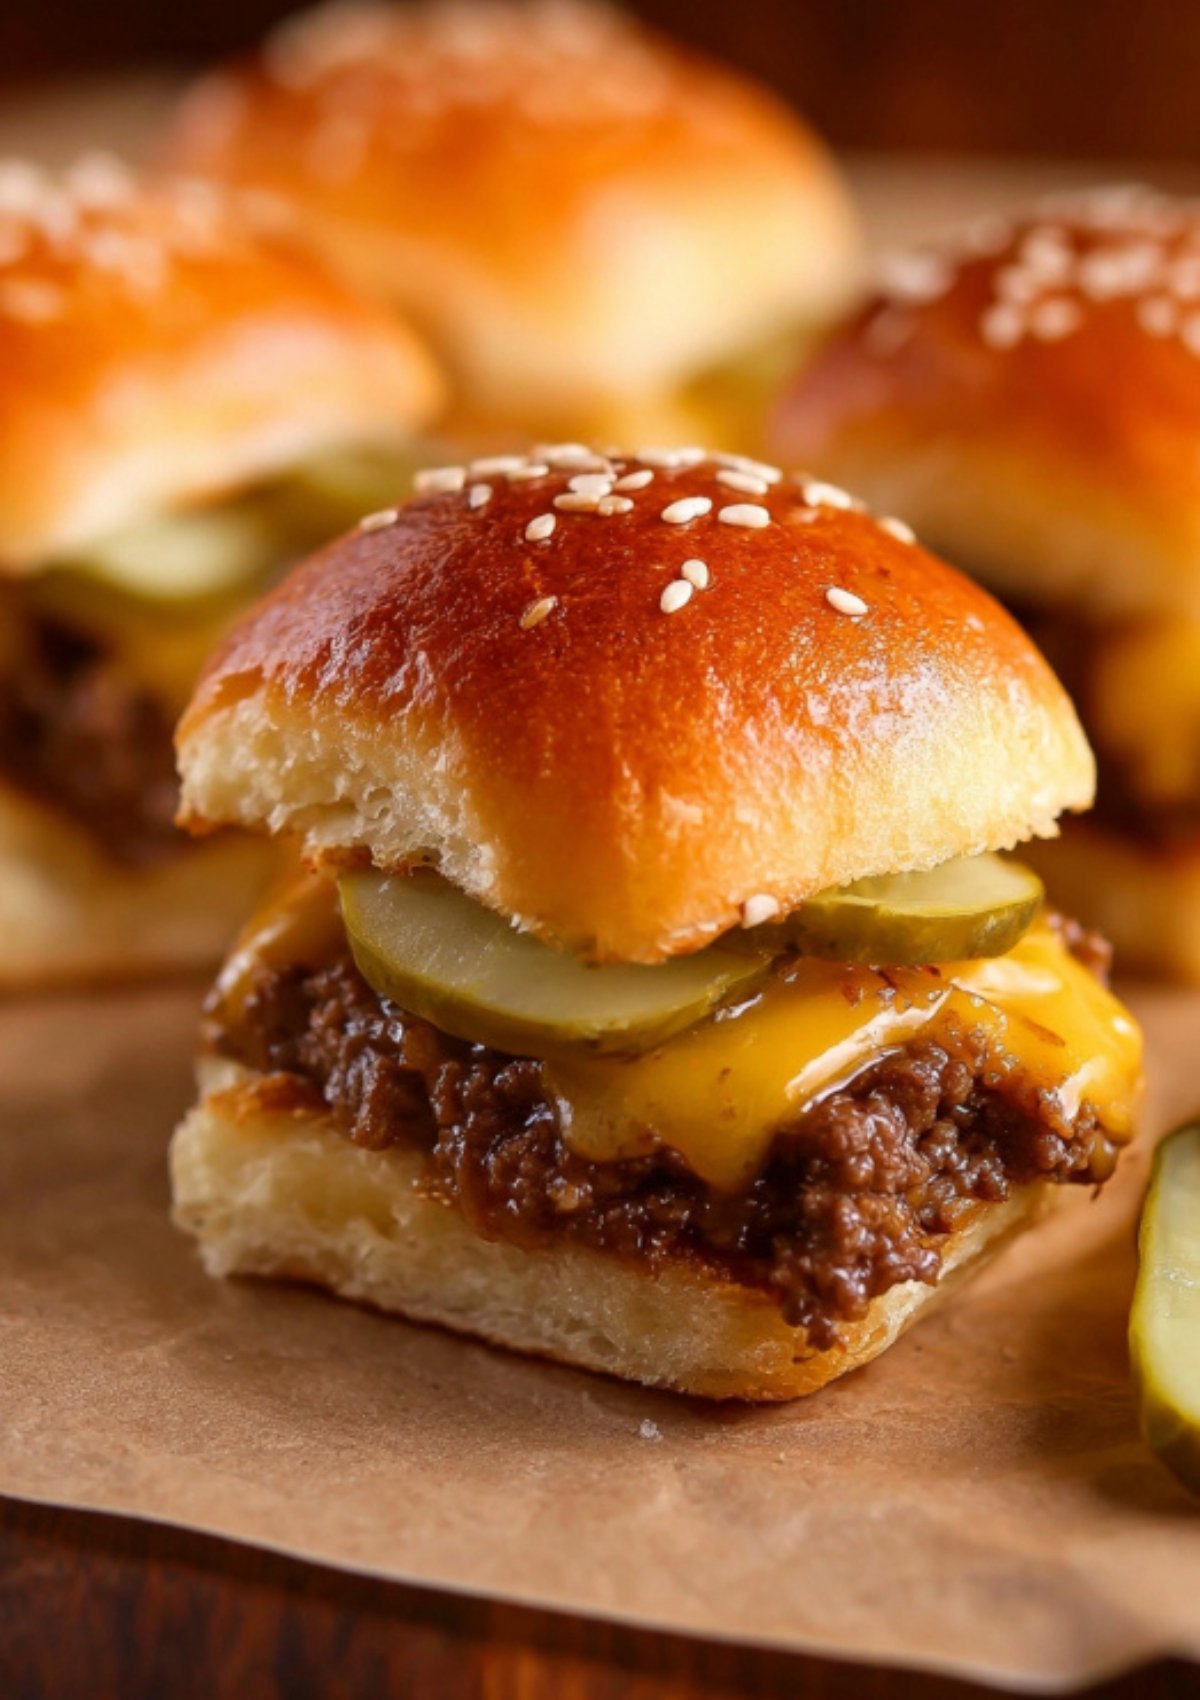
You know those recipes that disappear before you even make it to the table? That’s exactly what happens with these Cheeseburger Sliders. Imagine everything you love about a classic burger—juicy beef, melty cheese, buttery buns—shrunk down into the ultimate party food or weeknight treat. They’re quick, make-ahead friendly, and reheat like a dream. Perfect for family dinners, game day spreads, or just because you need some comfort food that doesn’t require a grill.
Buying expensive cuts of meat isn’t always feasible when you’re cooking on a budget, but you can make a little bit of beef go a long way with the right strategy. Making a batch of flavorful philly cheesesteak wraps is a fantastic way to stretch a smaller portion of steak across multiple servings. Bulking out the meat with plenty of cheap, sweet caramelized onions and green bell peppers creates a filling, high-flavor dinner that feels incredibly indulgent without breaking the bank.
Why You’ll Love These Cheeseburger Sliders

All the classic burger flavor, none of the hassle. Bake a whole batch at once, prep them ahead, and customize with your favorite toppings. Perfect for feeding a crowd—or just making dinner extra fun.
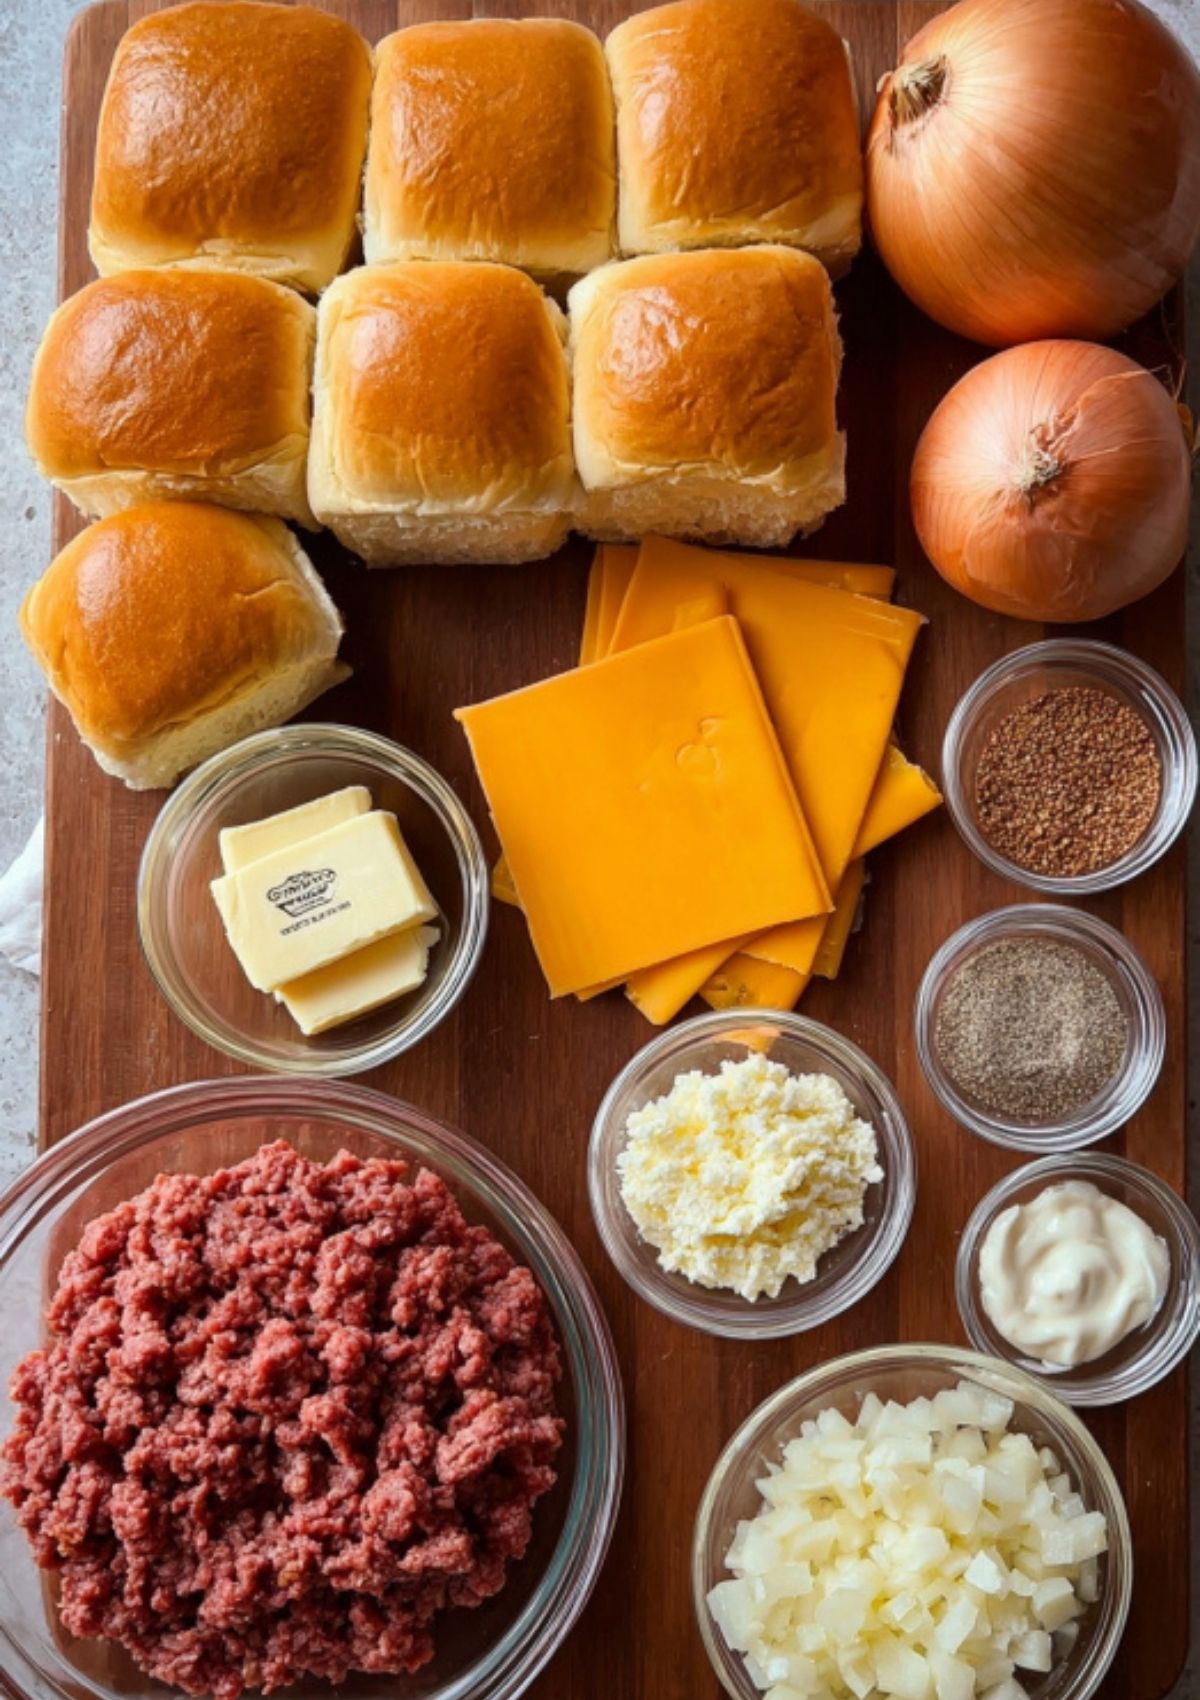
The Best Ingredients for Cheeseburger Sliders
- Dinner rolls: King’s Hawaiian are my favorite, but any soft dinner rolls will work.
- Lean ground beef: 90/10 or 93/7 for less grease (but use what you have).
- Cheddar cheese: Slices and shredded for max melty goodness.
- Onion: Finely diced and sautéed with the beef for that classic flavor.
- Mayonnaise: Mixed into the beef for extra juiciness.
- Butter: Brushed on top for golden, bakery-style buns.
- Sesame seeds: Sprinkled on top for that iconic slider look.
- Seasonings: Salt, black pepper, garlic powder.
You don’t need to roast an expensive beef tenderloin from scratch to enjoy a rich, restaurant-quality meal at home. A clever kitchen hack to completely elevate standard deli counter meat is baking a tray of decadent roast beef sliders. By topping the meat with caramelized onions, a smear of tangy horseradish mayo, and drenching the rolls in a savory Worcestershire-poppy seed butter glaze, you transform humble ingredients into a melt-in-your-mouth masterpiece.
Pro Tips for the Best Sliders
- Spoon out extra fat from the beef so your sliders stay crisp, not soggy.
- Line the buns with cheese and cover the beef with more cheese to seal in the juiciness.
- Brush buns with melted butter and sprinkle sesame seeds while still wet so they stick.
- Bake uncovered for crisp-tender tops (no soggy rolls here!).
How to Make Cheeseburger Sliders
Before you start, get your oven preheated to 350°F and butter your baking sheet for that extra golden crust.
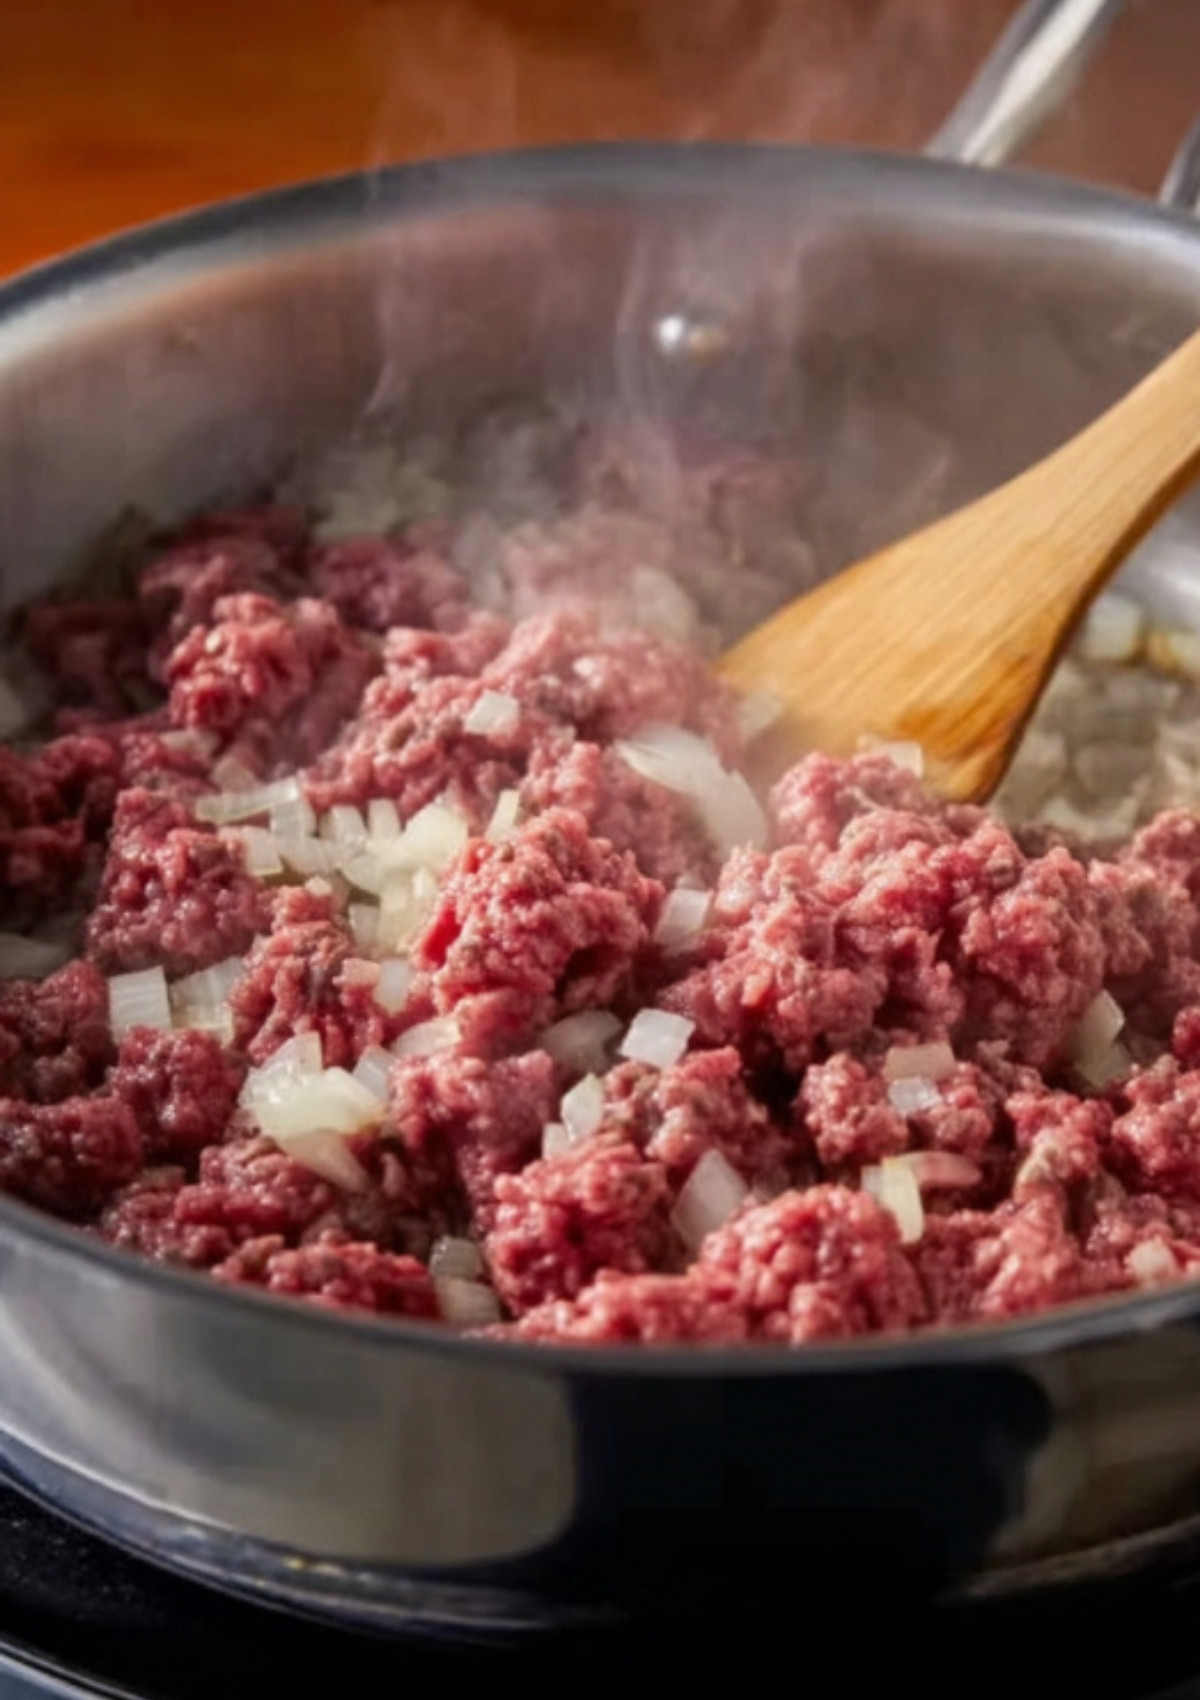
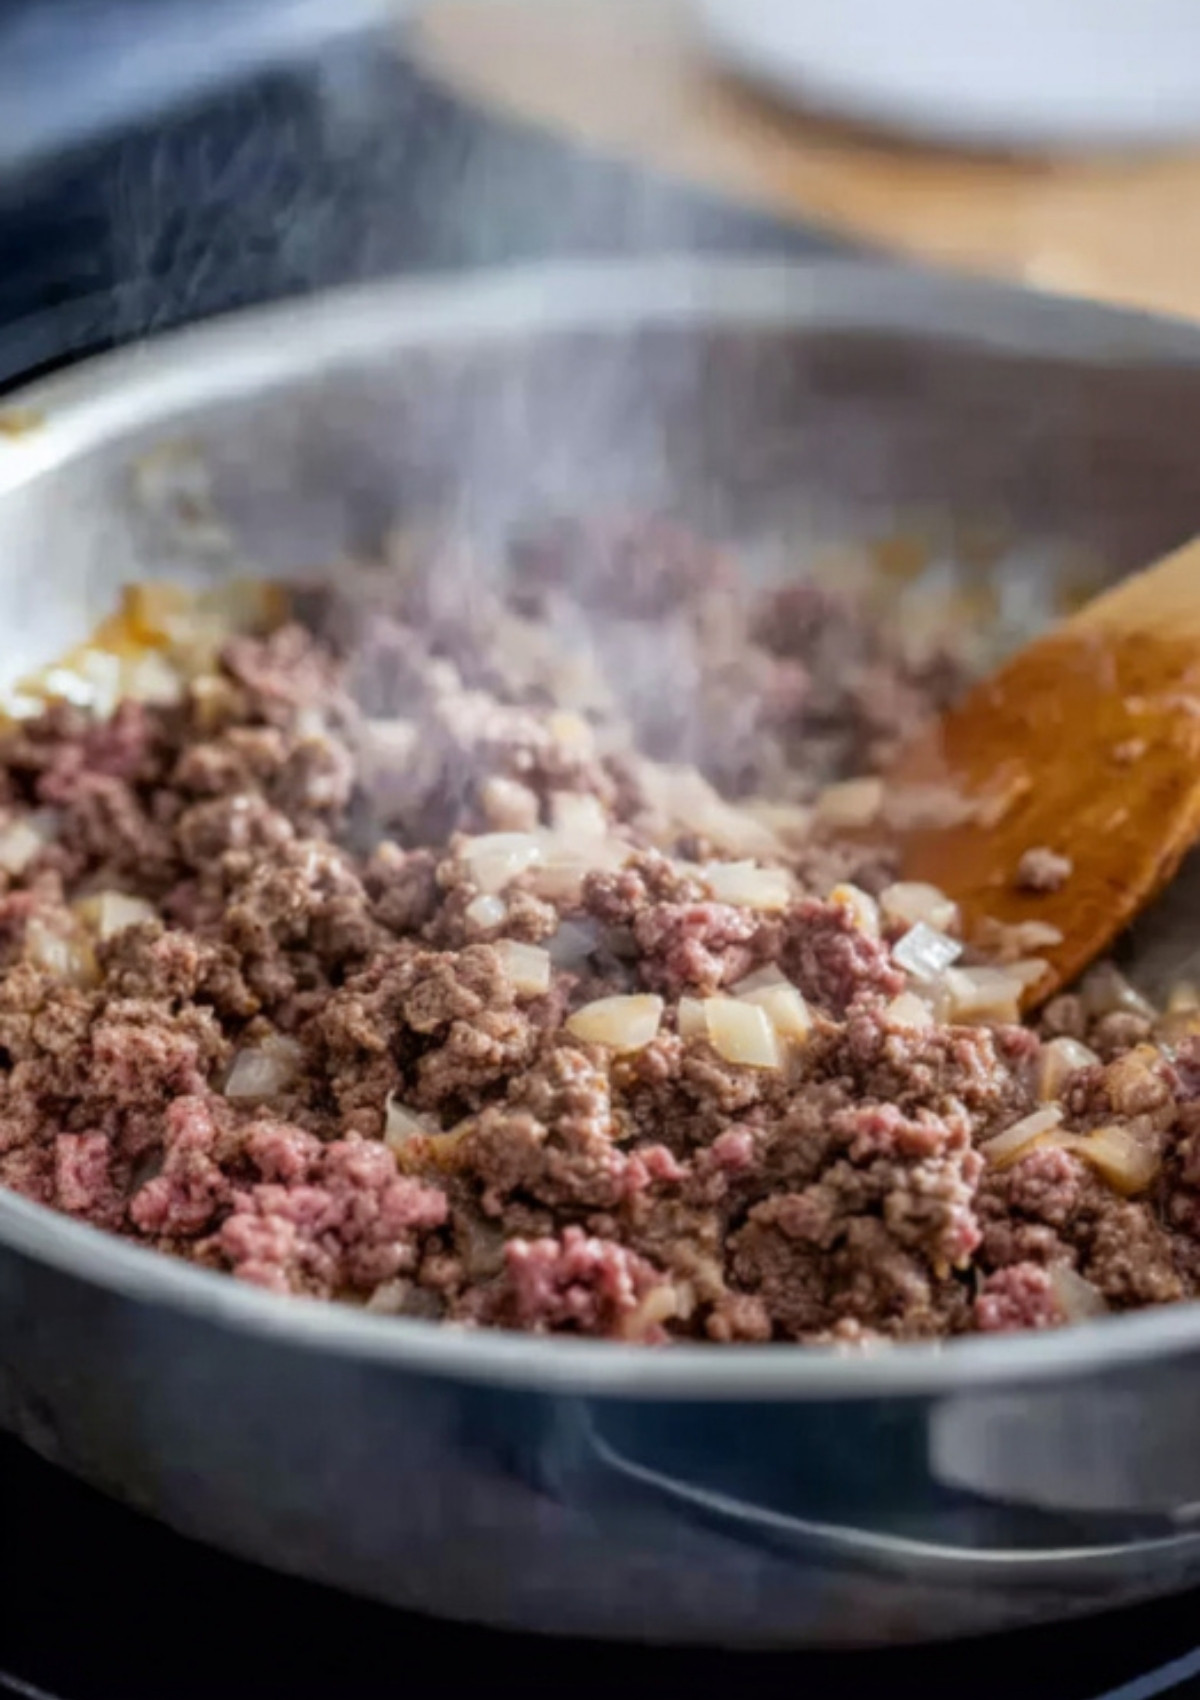
1. Cook the Beef & Onion
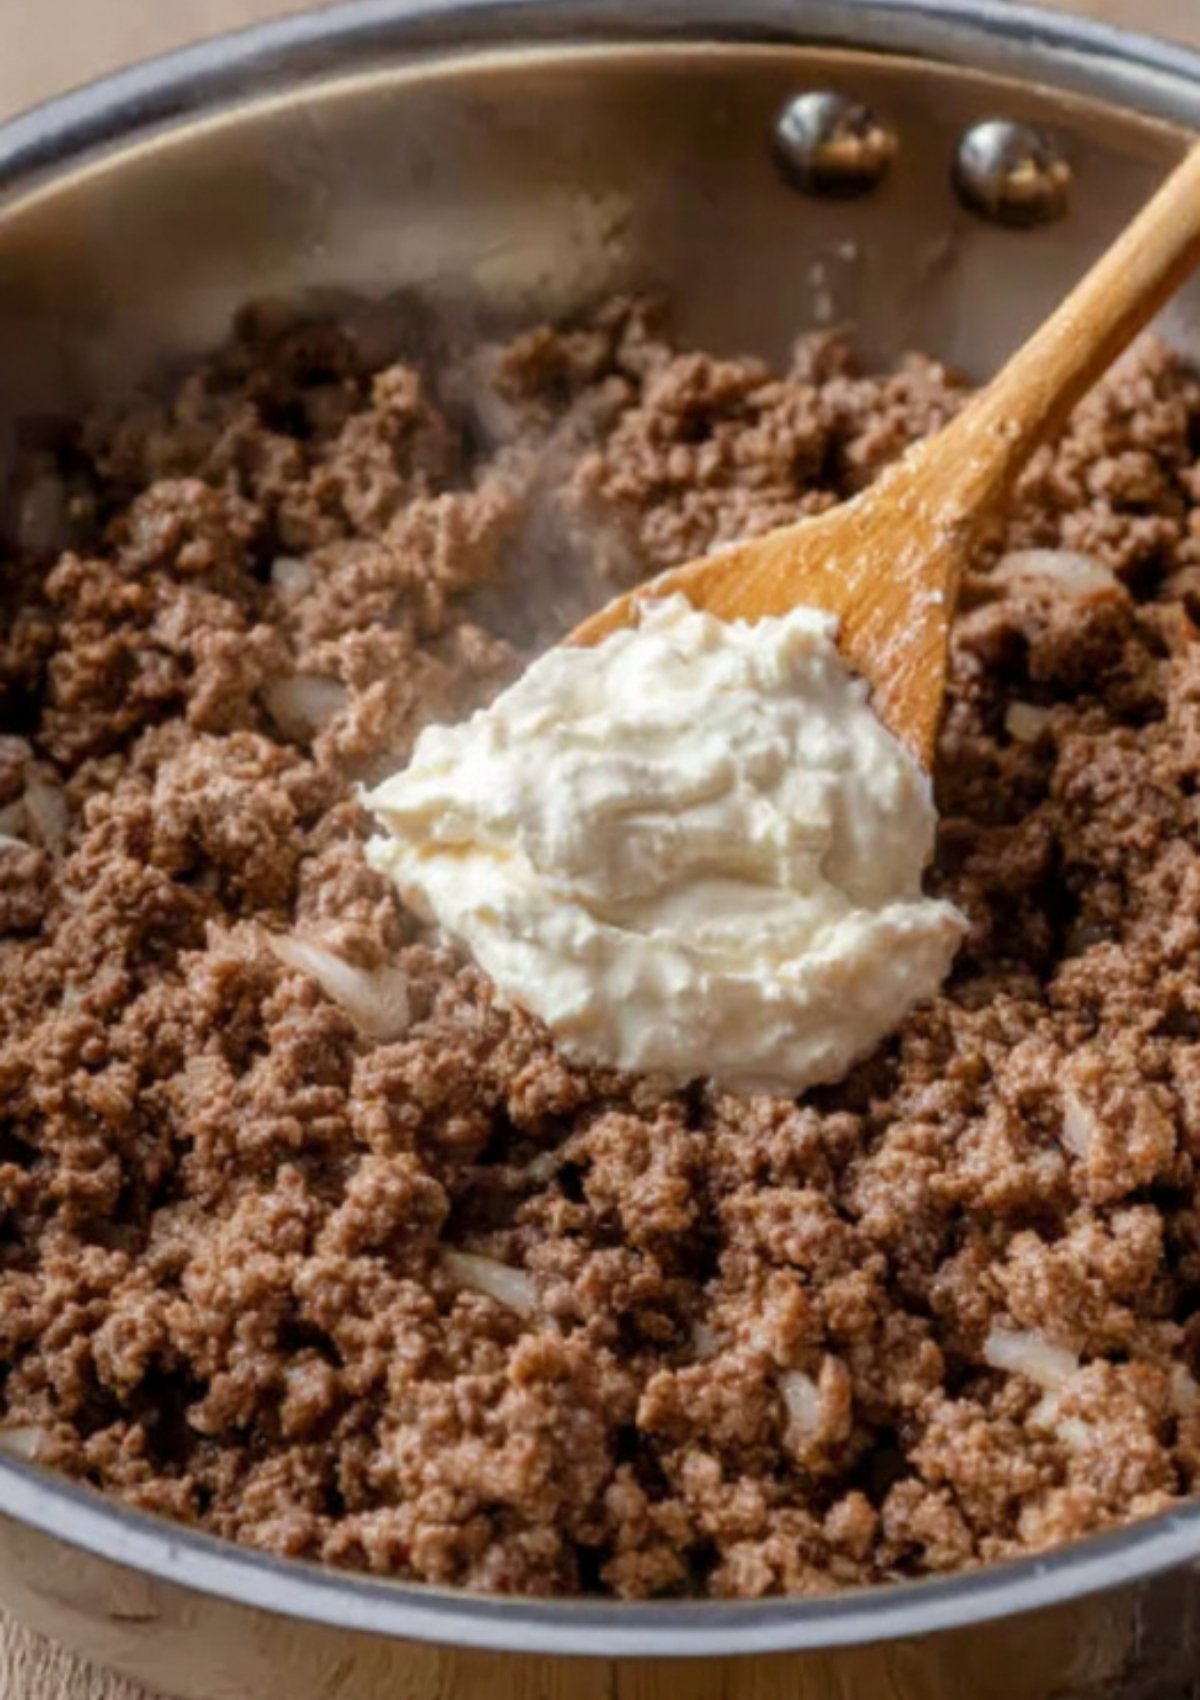
Sauté onion in olive oil, then add ground beef, salt, pepper, and garlic powder. Cook until just done, breaking it up as you go. Spoon out any extra fat, then stir in mayonnaise for serious moisture.
2. Prep the Buns
Cut the rolls in half. Arrange the bottom halves on your buttered baking sheet and layer with cheddar slices. Spread the beef mixture evenly on top, then sprinkle with shredded cheddar. Finish with the top halves of the buns.

You don’t need to be a gourmet chef to pull off a decadent, restaurant-style meal right in your own kitchen. A brilliant kitchen hack for making quick chicken parmesan sandwiches is utilizing high-quality frozen chicken tenders or air-fried cutlets as your base. Pop them on toasted brioche or ciabatta buns, smother them in your favorite jarred marinara, and broil them for two minutes to get those gorgeous, blistered cheese spots without breaking a sweat.
3. Add the Finishing Touches
Brush the tops with melted butter and sprinkle with sesame seeds.
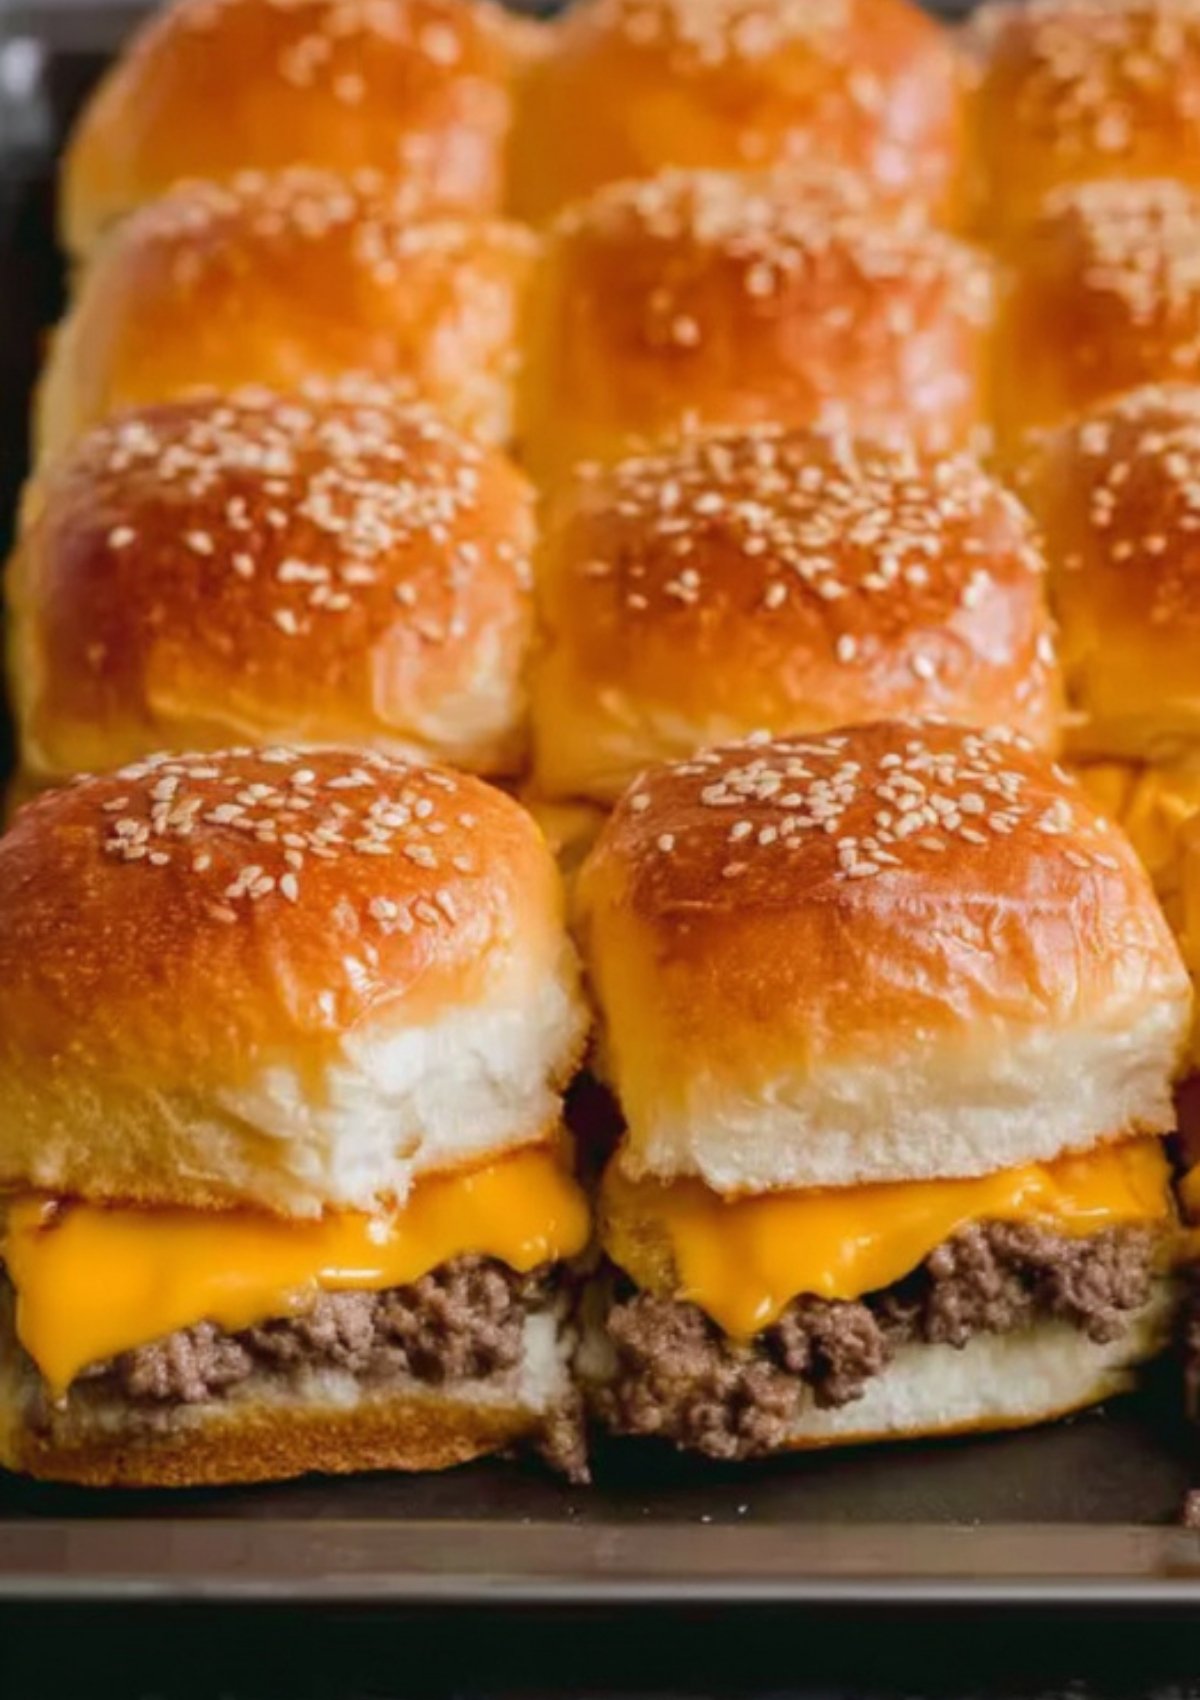
4. Bake & Serve
Bake uncovered for 12–15 minutes, until the cheese is melted and the tops are golden. Let them cool slightly, then slice into individual sliders and serve with all your favorite fixings.
Make-Ahead & Storage
- Prep ahead: Assemble up to a day in advance, cover, and refrigerate. Add 3 extra minutes to bake time if chilled.
- Reheat: Microwave each slider uncovered for 15–20 seconds or bake in the oven until hot and melty.
Getting your kids to eat more vegetables can sometimes feel like an uphill battle, but a fun and creative presentation can completely change the game. Making these colorful sloppy joe stuffed peppers is a brilliant way to sneak some extra nutrients onto the family dinner table. The classic, tangy tomato-and-mustard meat sauce masks the green or red peppers beautifully, turning a potentially picky-eater standoff into a fun weeknight win.
Serving Ideas
Serve your sliders with classic pickles, potato wedges, or your favorite burger sauces. They work as appetizers, party food, or a super fun family dinner.
When you are tasked with feeding a large group or a hungry family on a strict budget, pork shoulder is easily one of the most cost-effective cuts of meat at the grocery store. Transforming that affordable roast into a mountain of savory, melt-in-your-mouth BBQ pulled pork sandwiches is a guaranteed way to stretch your dollar without sacrificing flavor. It’s an incredibly filling option, and any leftover meat can easily be repurposed later in the week into loaded nachos or quick weeknight tacos.
FAQ
Absolutely—American, Swiss, or pepper jack all work great.
Spoon out excess beef fat and line the buns with cheese to seal in moisture.
Yes! Assemble, cover, and refrigerate. Bake right before guests arrive.
Yes—wrap tightly and freeze baked sliders. Reheat in the oven for best results.
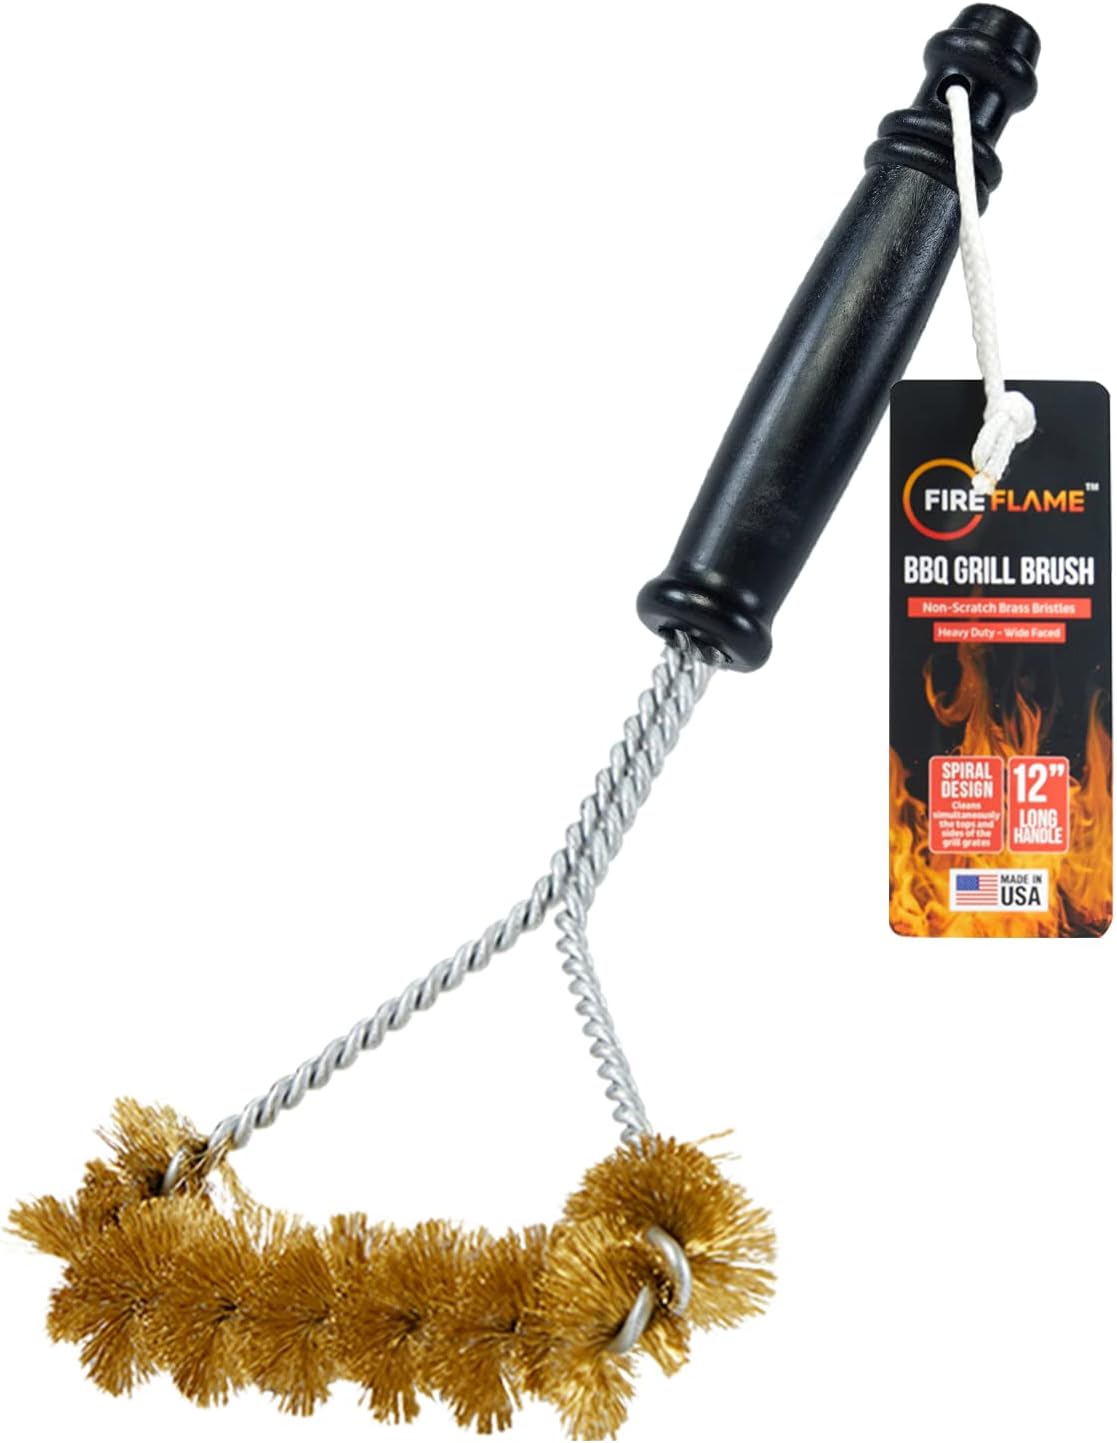
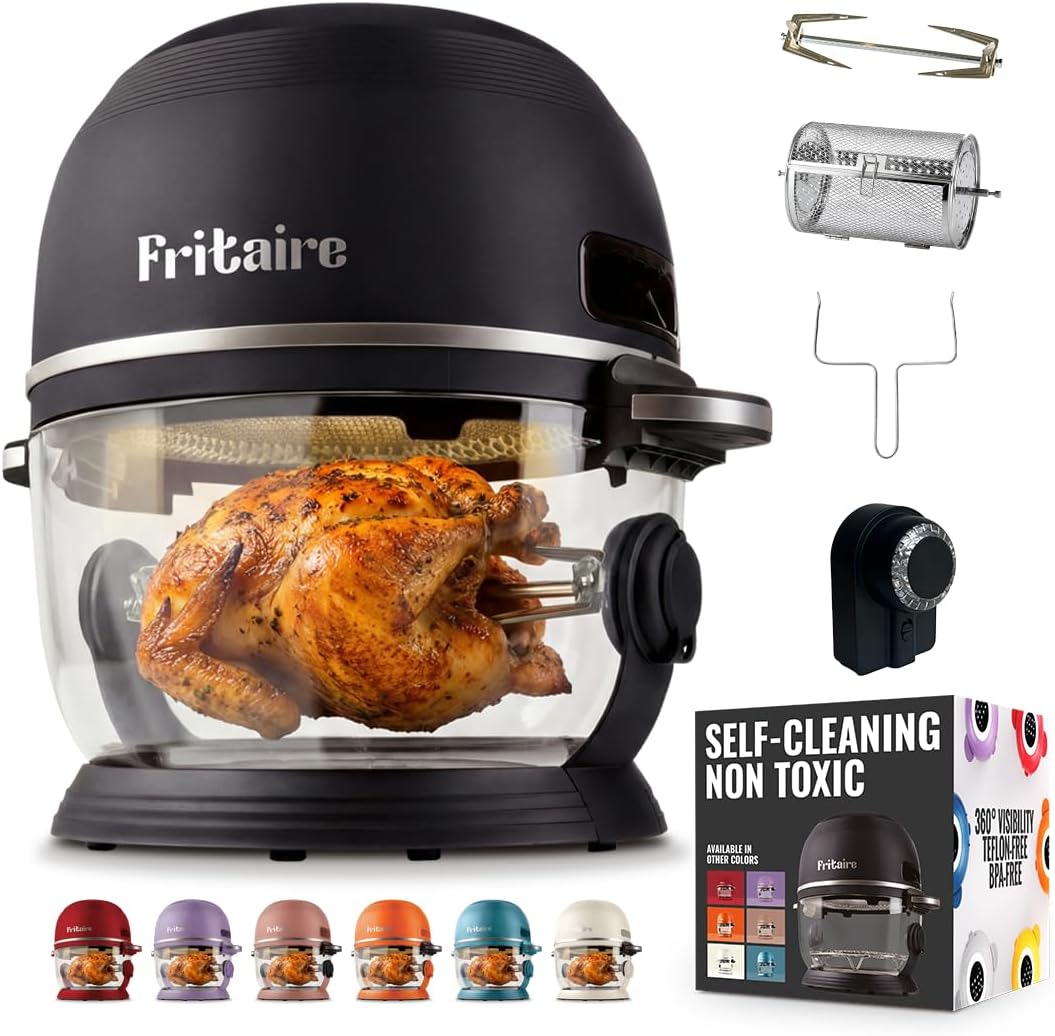
Top BBQ & Kitchen Picks
Tested, loved and recommended by our team ✨


Cheeseburger Sliders
Everything you love about a classic cheeseburger—juicy beef, melty cheese, and buttery buns—shrunk down into quick, crowd-pleasing sliders you can bake all at once. Perfect for parties, weeknight dinners, or next-day lunches.
Ingredients
- 2 lbs lean ground beef (90/10 or 93/7)
- ½ tablespoon olive oil
- 1 teaspoon salt
- 1 teaspoon black pepper
- 1 teaspoon garlic powder
- ½ large yellow onion, finely diced
- ¼ cup mayonnaise
- 8 slices medium cheddar cheese
- 6 oz medium cheddar, shredded
- 24 dinner rolls (King’s Hawaiian or similar)
- 2 tablespoon unsalted butter, melted (plus more for greasing)
- 1 tablespoon sesame seeds
Instructions
- Preheat oven to 350°F and butter the bottom of a rimmed baking sheet.
- Sauté onion in olive oil over medium-high heat. Add ground beef, salt, pepper, and garlic powder. Cook until done, breaking up the beef as it cooks. Spoon out excess fat and stir in mayonnaise.
- Slice dinner rolls in half. Place bottom halves on prepared baking sheet. Top with cheddar slices, then spread the beef mixture evenly over the cheese. Sprinkle with shredded cheddar and place top halves of rolls on top.
- Brush tops with melted butter and sprinkle with sesame seeds.
- Bake uncovered for 12–15 minutes, until cheese is melted and tops are golden brown.
- Let cool slightly, then slice into individual sliders and serve warm with desired fixings.
Notes
Assemble sliders up to a day in advance and refrigerate—just add a few minutes to the bake time. Reheat leftovers in the microwave or oven. Add bacon, jalapeños, or any of your favorite toppings to customize.
Nutrition Information
Serving Size 1 sliderAmount Per Serving Calories 230Total Fat 12gSaturated Fat 6gTrans Fat 0gUnsaturated Fat 5gCholesterol 40mgSodium 380mgCarbohydrates 18gFiber 1gSugar 3gProtein 13g
Leave a Reply