
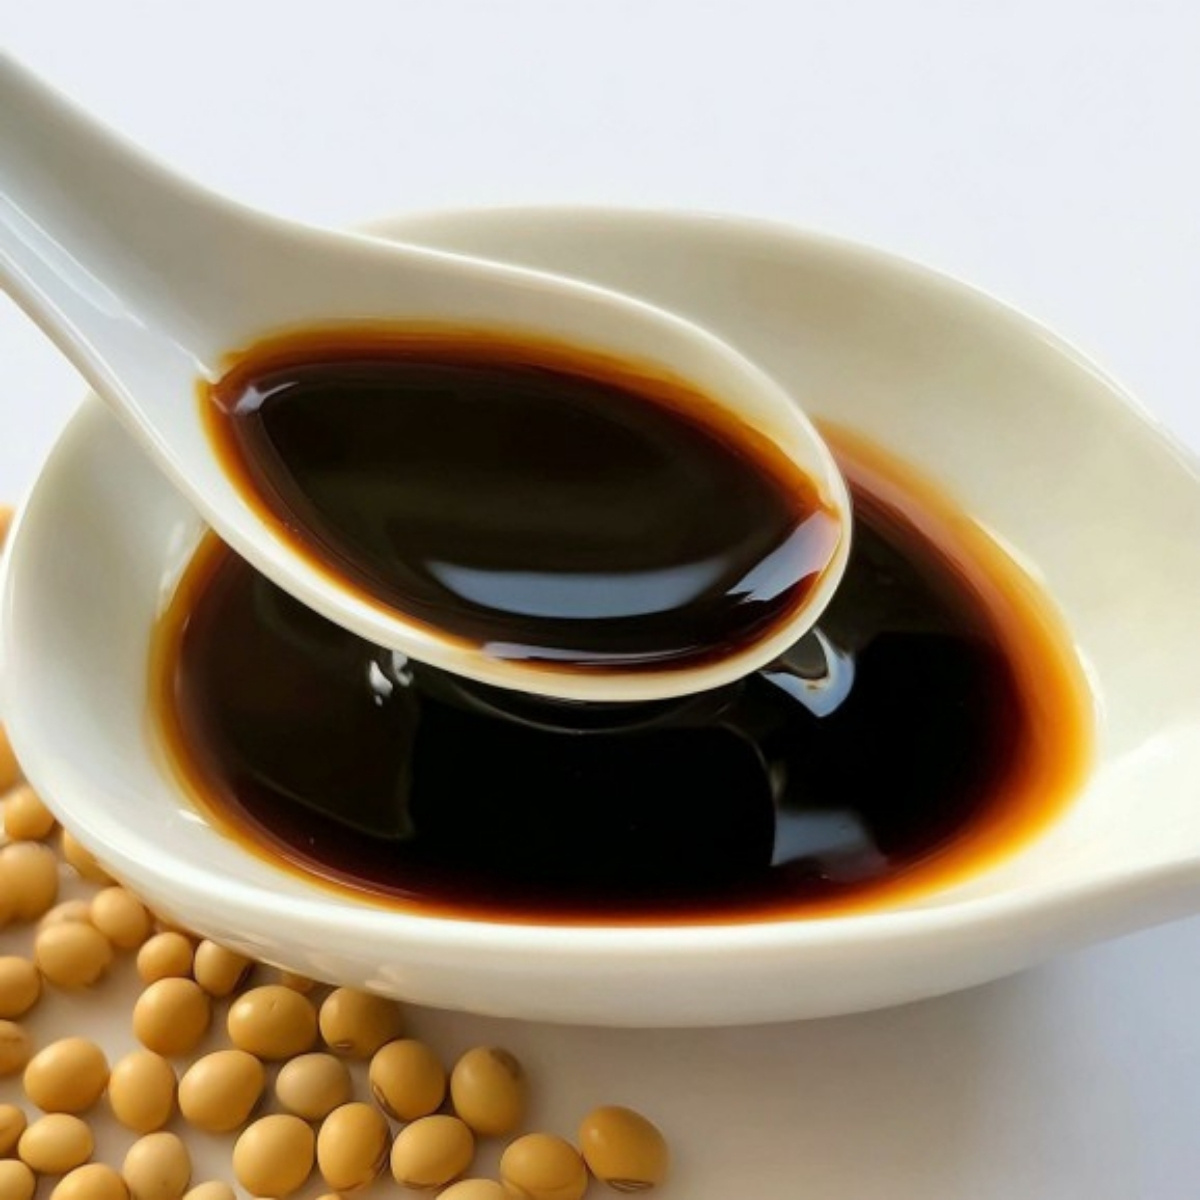
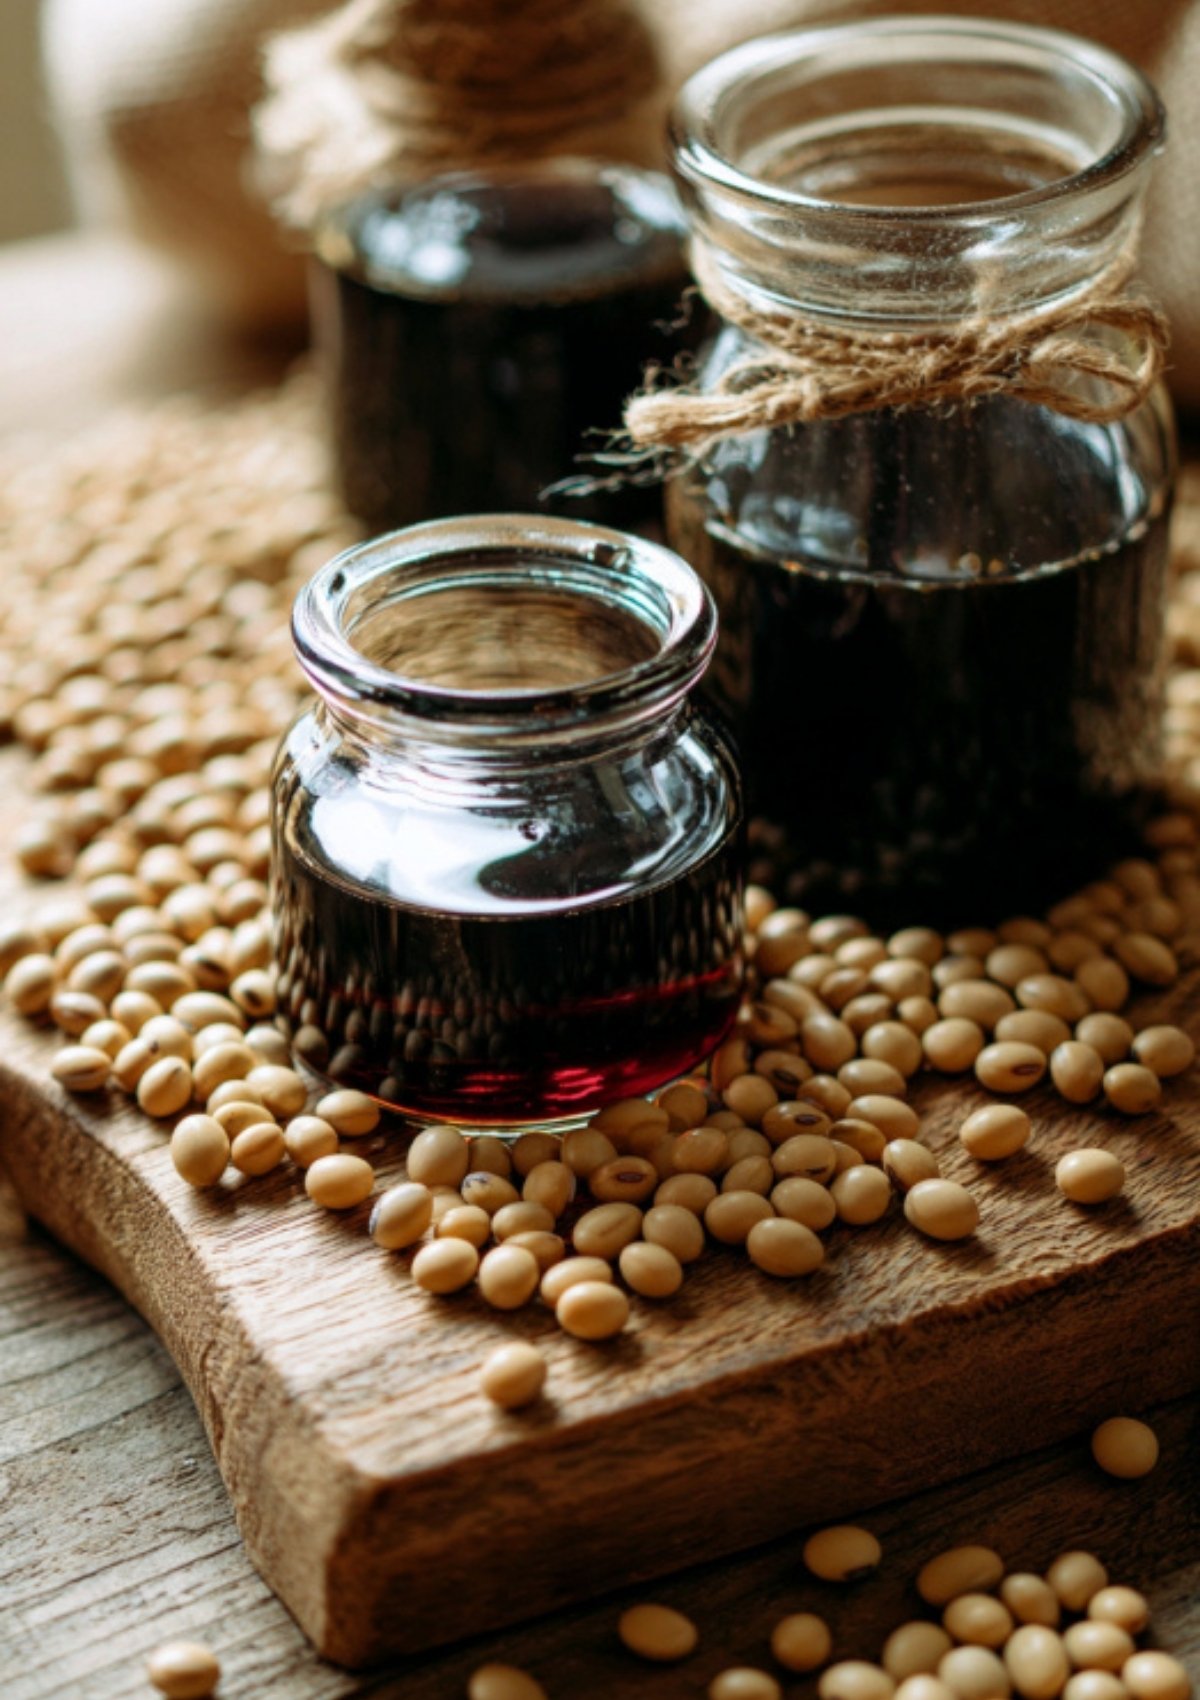
If you’ve ever wondered how soy sauce is made the old-fashioned way, this guide walks you through the authentic Korean process using only soybeans, salt, and water. It’s slow and intentional—months instead of days—but the result is a deeply savory, aromatic sauce you can’t replicate from a store bottle.

You don’t need special equipment or rare ingredients; just a few traditional touches and plenty of patience. It’s less a recipe and more a meaningful kitchen project that connects you to generations of home cooks.
Why Make Your Own Soy Sauce?
You’re basically crafting one of the world’s most essential seasonings from scratch. You control every ingredient. The process is pure kitchen alchemy: just beans, salt, water, sun, and time become a powerful umami elixir.
What You’ll Need
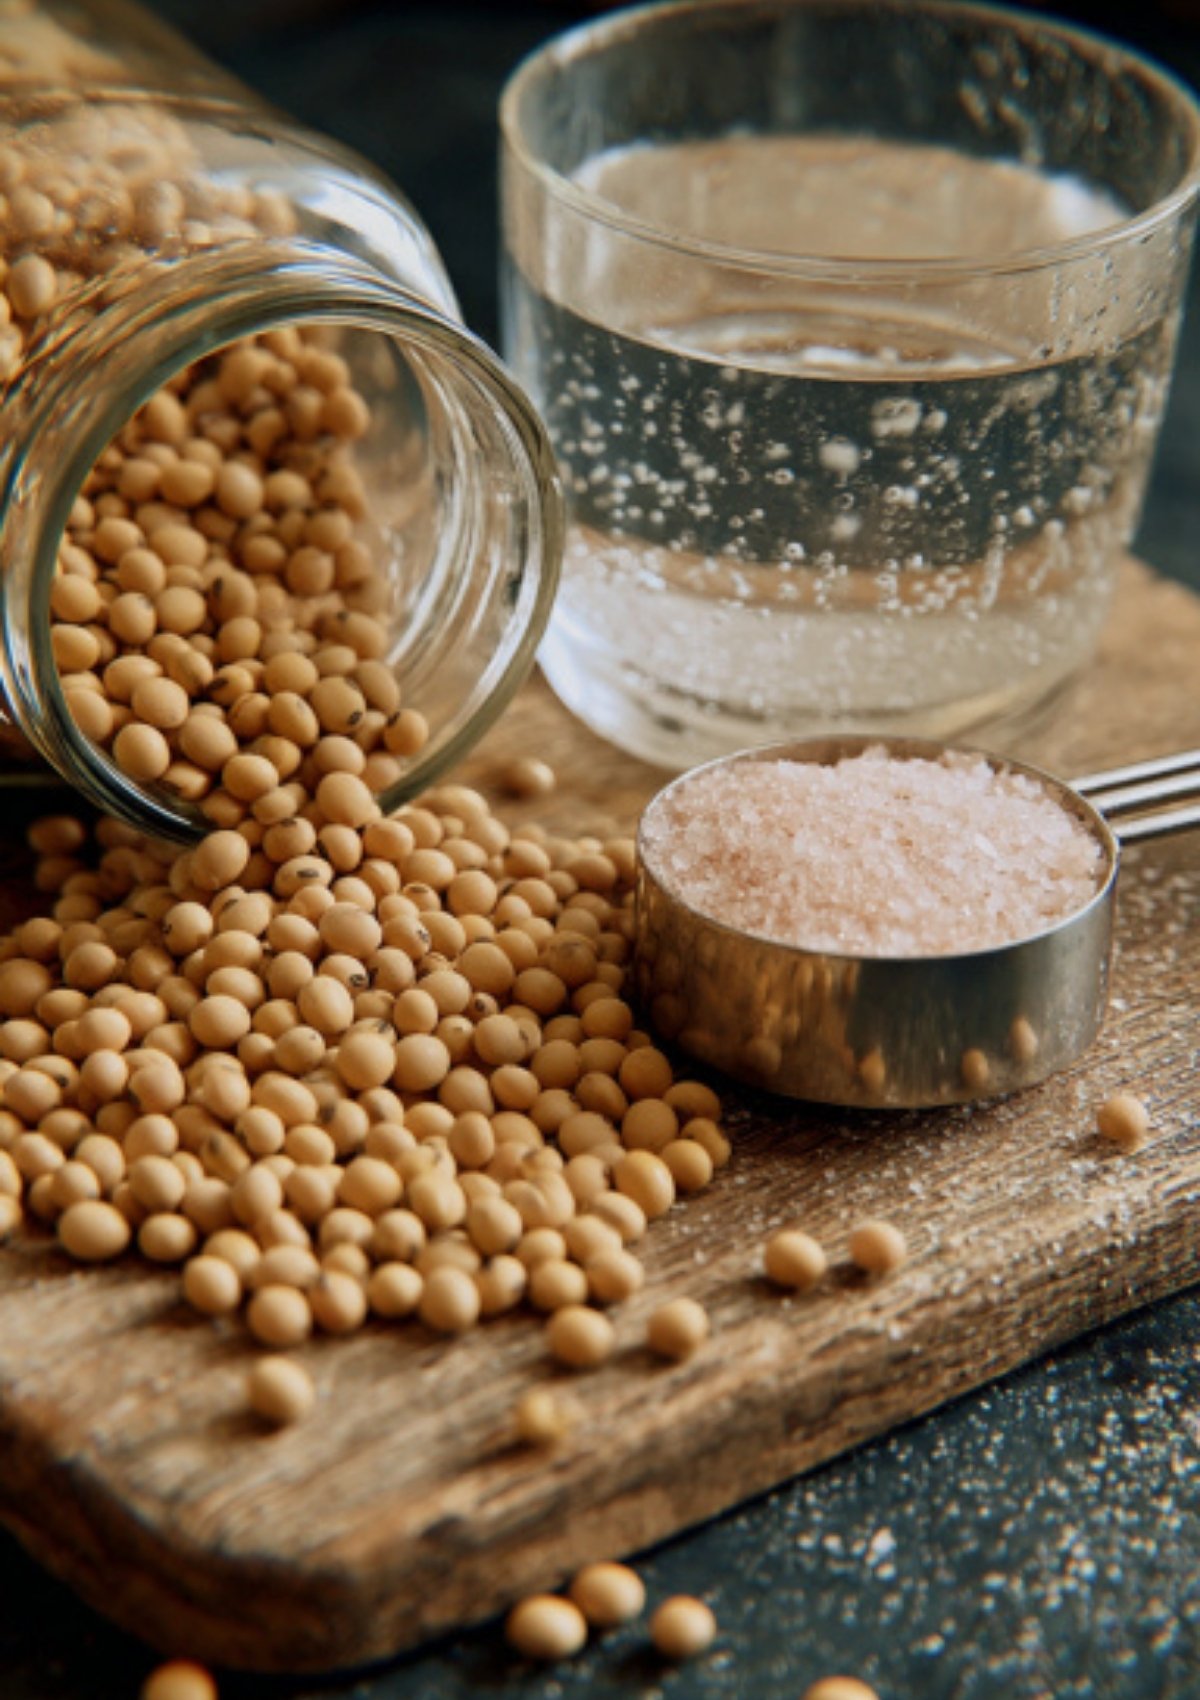
- Dried soybeans
- Good-quality salt
- Filtered or spring water
- Small pieces of charcoal
- Dried Korean chilies (optional)
- Dried jujubes (optional)
- Lukewarm filtered water (for brine)
- Extra water for soaking and cooking
- Large glass jars or earthenware crocks
- Cheesecloth and string
- A raw egg (for testing salinity)
- Time, patience, and commitment
For precise amounts, check the recipe card at the end of the post.
Step-By-Step Instructions
1. Soak and Cook the Soybeans
- Pick over, wash, and soak soybeans overnight in filtered water.
- Drain, rinse, and cover again with fresh water.
- Boil, then simmer until beans are very soft (can take hours). Add more water as needed.
- Strain and cool beans.
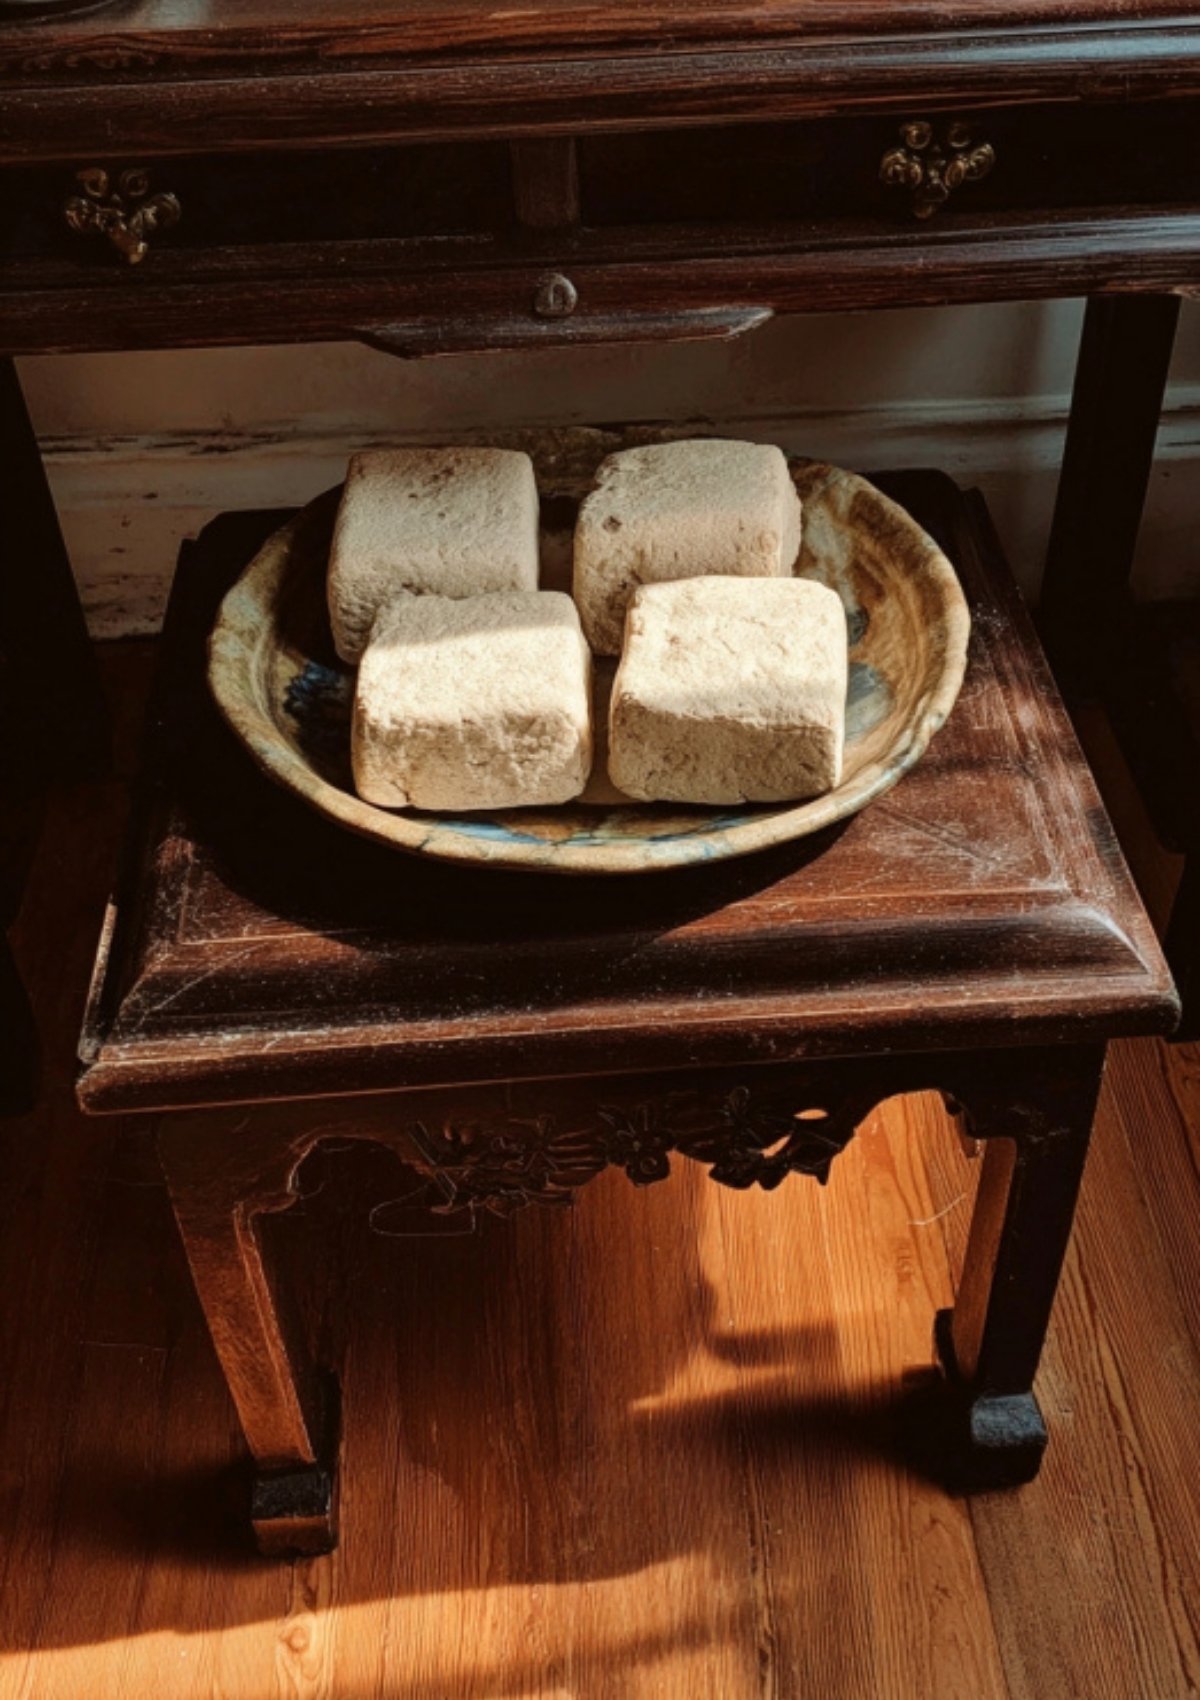
2. Form and Dry the Bean Blocks
- Mash cooled beans with a mortar & pestle or food processor.
- Divide into 4 portions, shape into blocks, and lay them on a parchment-lined tray.
- Dry near a heater for several days, flipping as needed. Fungi/mold are normal—they help fermentation!
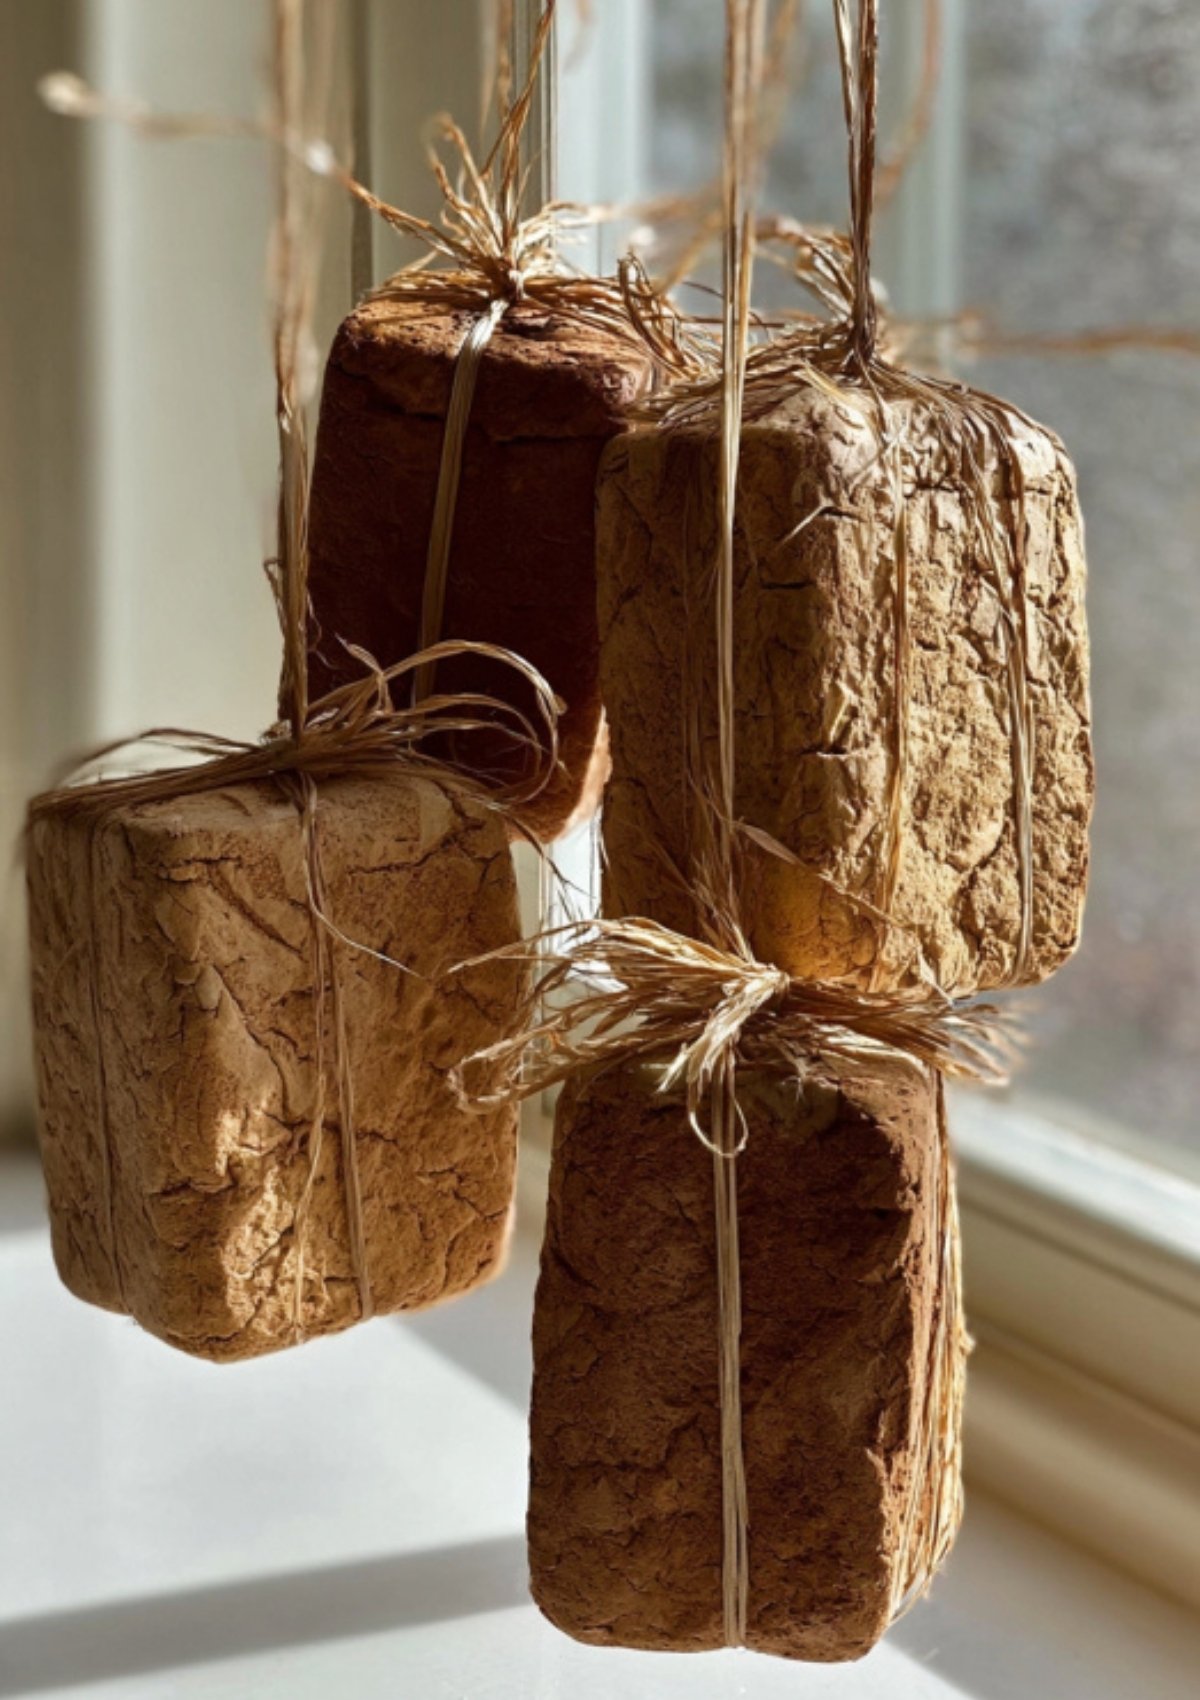
3. Hang and Cure the Blocks
- Tie string around the blocks and hang them (in a well-ventilated place) for several weeks, until hard and covered with white/gray fungi.
- Gently rinse off fungi under running water, then let blocks dry near a heater again.
4. Ferment in Brine
- Dissolve salt in 16 cups lukewarm filtered water. Test salinity: drop in a raw egg; if it floats, the brine is ready.
- Place 2 bean blocks in each glass jar. Add a few pieces of charcoal, dried chilies, and jujubes.
- Pour in brine. Cover jars with cheesecloth.
- Set jars somewhere sunny, letting them ferment for 5+ months. Occasionally let them soak up sunshine uncovered.

5. Strain and Age
- After 5–6 months, remove the blocks. Discard charcoal, chilies, jujubes, and excess fungi.
- Strain the sauce and bring to a boil on the stove. Let cool.
- Transfer to smaller glass jars and age in a cool pantry for at least a few more months for best flavor.
6. Enjoy!
- Once your soy sauce has darkened and the flavor is deep, it’s ready to use.
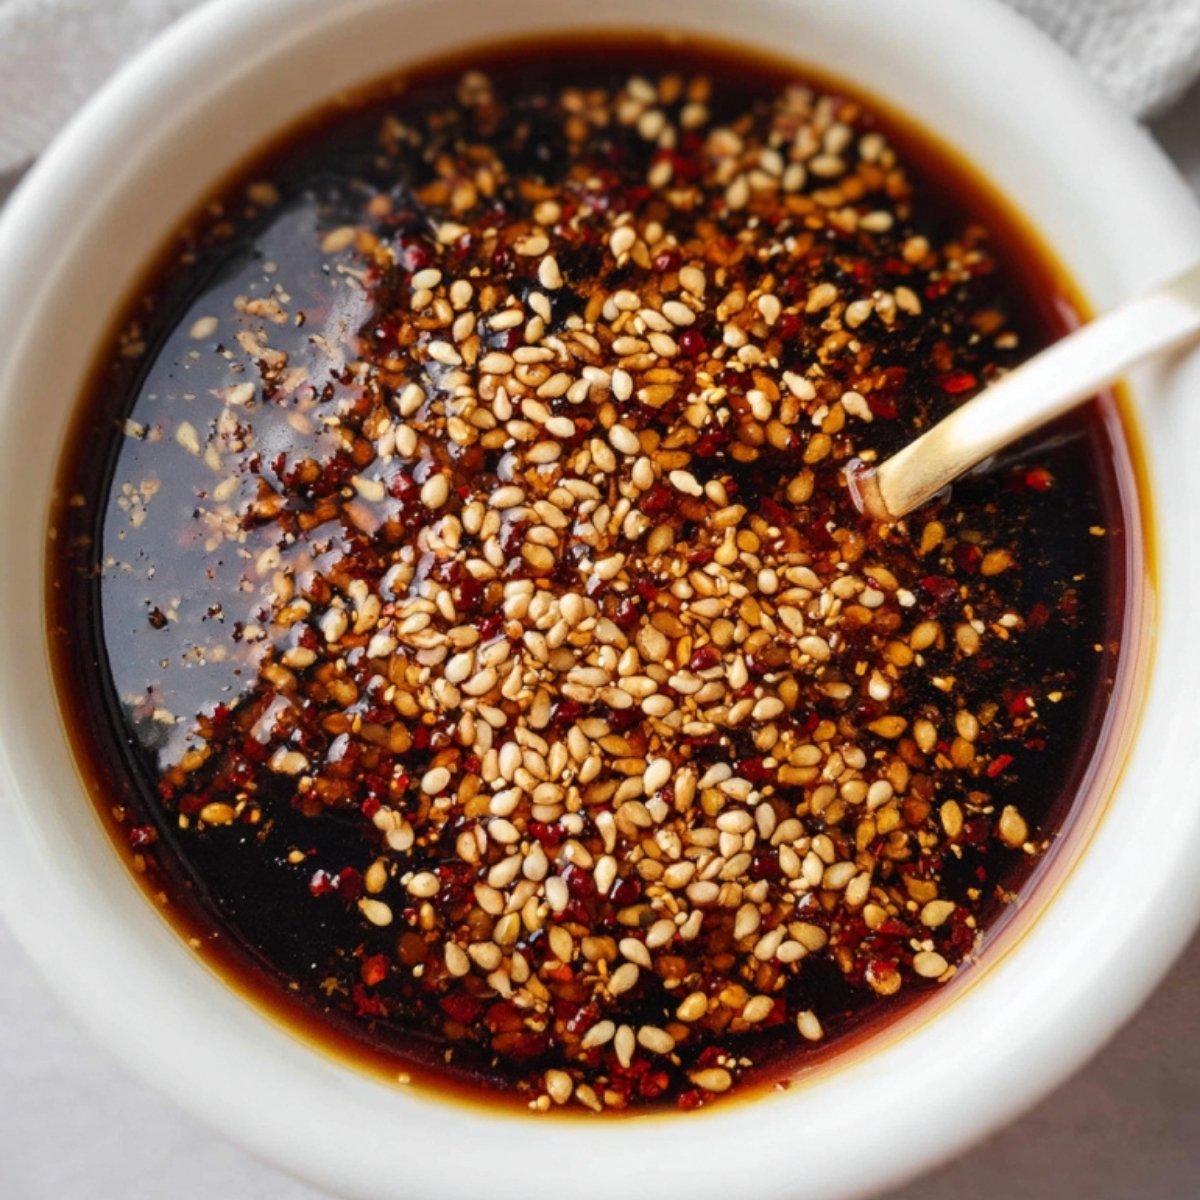
- Pour into small bottles for daily use. Use as a dipping sauce, seasoning, or marinade—this stuff is gold!

Tips & Troubleshooting
- Salt is essential: Don’t reduce the salt below the “egg floats” threshold—salt is what keeps bad bacteria away.
- Fermentation takes time: Let nature do the work. Soy sauce gets better the longer it ages.
- Don’t worry about the fungi: It’s a natural part of the process and safe for this traditional method.
FAQ
Charcoal purifies the brine; jujubes add mild sweetness and depth.
Yes, but the finished sauce has a rich, balanced flavor. If you need lower-salt, dilute finished soy sauce with broth when using.
Yes! They’re traditional, but the essential process works without them.

How To Make Soy Sauce
- Total Time: 6–12 months
- Yield: 2 gallons 1x
- Diet: Vegan
Description
This traditional Korean method for homemade soy sauce uses just soybeans, salt, water, and time to produce a deeply savory, naturally fermented sauce. It’s a slow, rewarding process that yields an umami-packed condiment like no other.
Ingredients
- 6 cups dried soybeans
- 4 cups good salt (Himalayan or sea salt)
- Filtered or spring water
- A few pieces of charcoal
- Optional: dried Korean chilies, dried jujubes
- 1 raw egg (for salinity testing)
Instructions
- Soak and cook soybeans until very soft, then mash and form into blocks.
- Dry the blocks near a heater for several days, flipping occasionally.
- Hang blocks in a well-ventilated place for several weeks until covered in mold.
- Rinse fungi off and dry again briefly.
- Dissolve salt in 16 cups lukewarm filtered water. Drop in raw egg—it should float. If not, add more salt.
- Place 2 blocks in each jar with optional charcoal, chilies, and jujubes. Pour in brine and cover with cheesecloth.
- Ferment jars in sunny spot for 5–6 months. Occasionally remove cloth and let jars soak up sun.
- Strain, boil, cool, and transfer to jars. Age at least 2 more months for best flavor.
- Use in recipes or as a condiment—homemade soy sauce is rich, deep, and incredibly rewarding!
Notes
Use good-quality salt and water. Fermentation time varies with climate but longer aging = better flavor. Charcoal and jujubes are traditional flavor enhancers but optional. Don’t be alarmed by mold—it’s part of the process.
- Prep Time: Several hours over multiple days
- Cook Time: 0 minutes
- Category: Condiment
- Method: Fermentation
- Cuisine: Korean
Nutrition
- Serving Size: 1 tablespoon
- Calories: 10
- Sugar: 0g
- Sodium: 920mg
- Fat: 0g
- Saturated Fat: 0g
- Unsaturated Fat: 0g
- Trans Fat: 0g
- Carbohydrates: 1g
- Fiber: 0g
- Protein: 1g
- Cholesterol: 0mg
Leave a Reply