
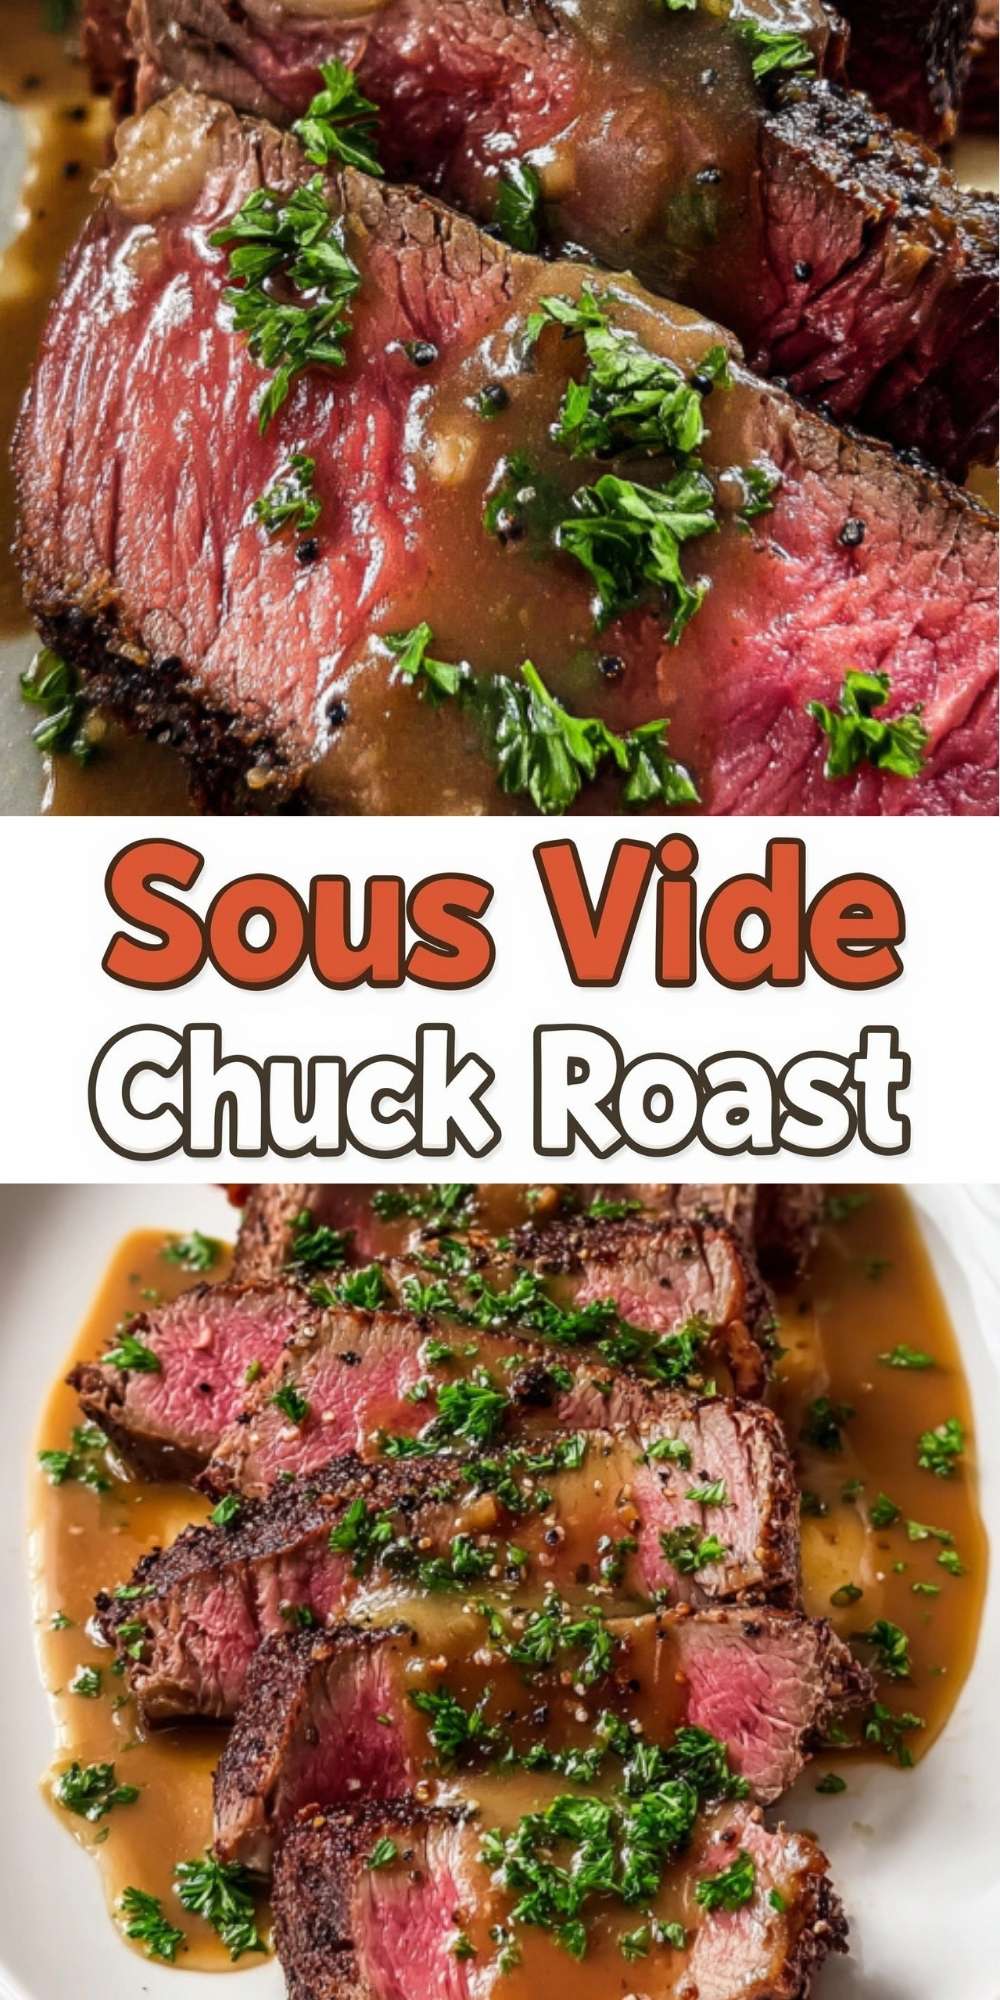
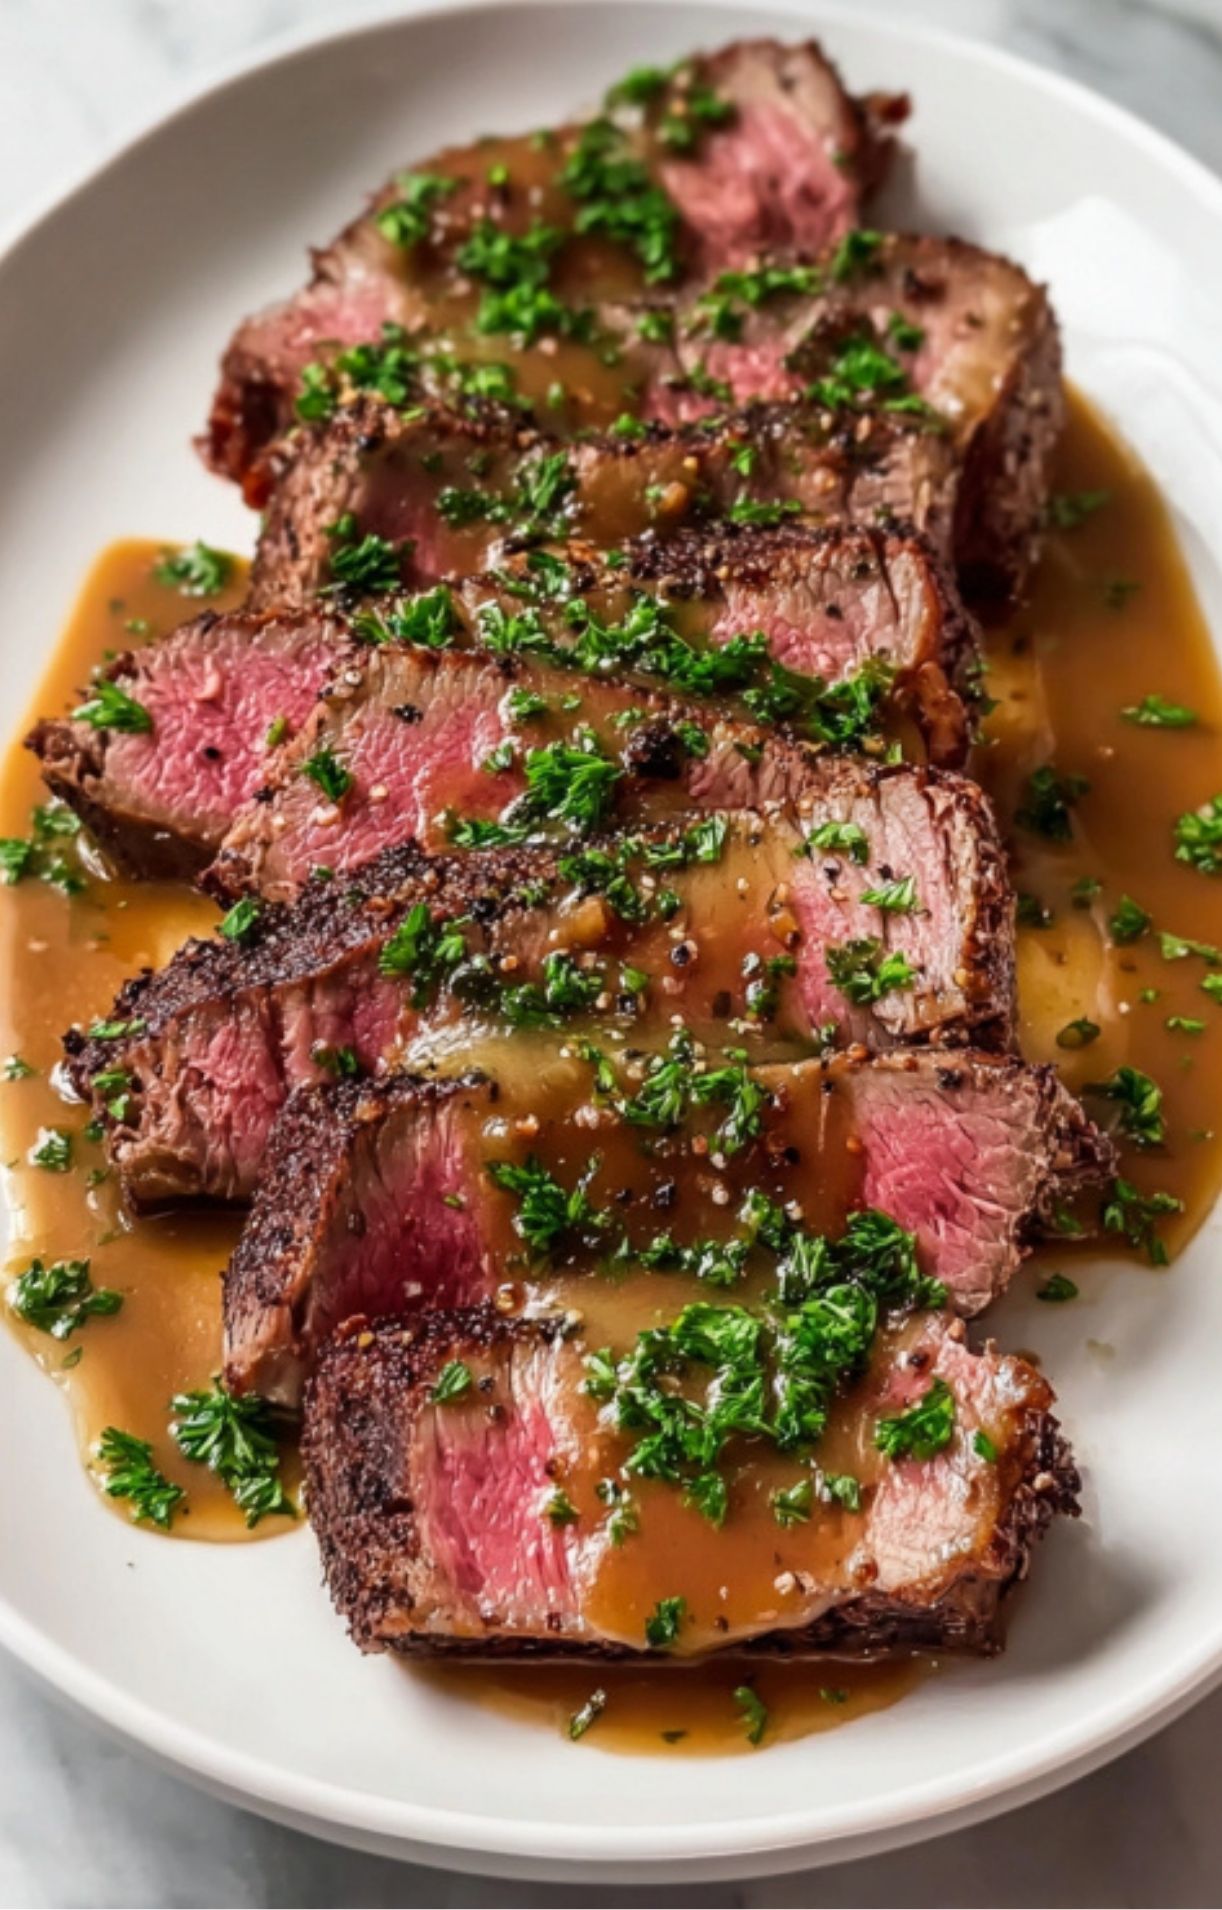
You are basically turning an affordable chuck roast into the kind of tender, evenly cooked beef people ask about for leftovers. If you love the texture of a prime rib but want to spend far less, sous vide is your shortcut. This sous vide chuck roast yields perfectly controlled doneness from edge to edge, a quick finishing sear for a glossy crust, and a gravy made from the bag juices that pulls everything together.
Here on Meat & Melt we love methods that boost flavor while cutting stress, and this one does exactly that.
What you will love about this version
- Hands-off cooking that frees up your day.
- Consistent results every time — no mystery internal-thermometer panic.
- Prime-rib-like slices at a fraction of the cost.
- Make-ahead and meal prep friendly — sous vide roasts refrigerate or freeze in the bag with excellent texture preservation.
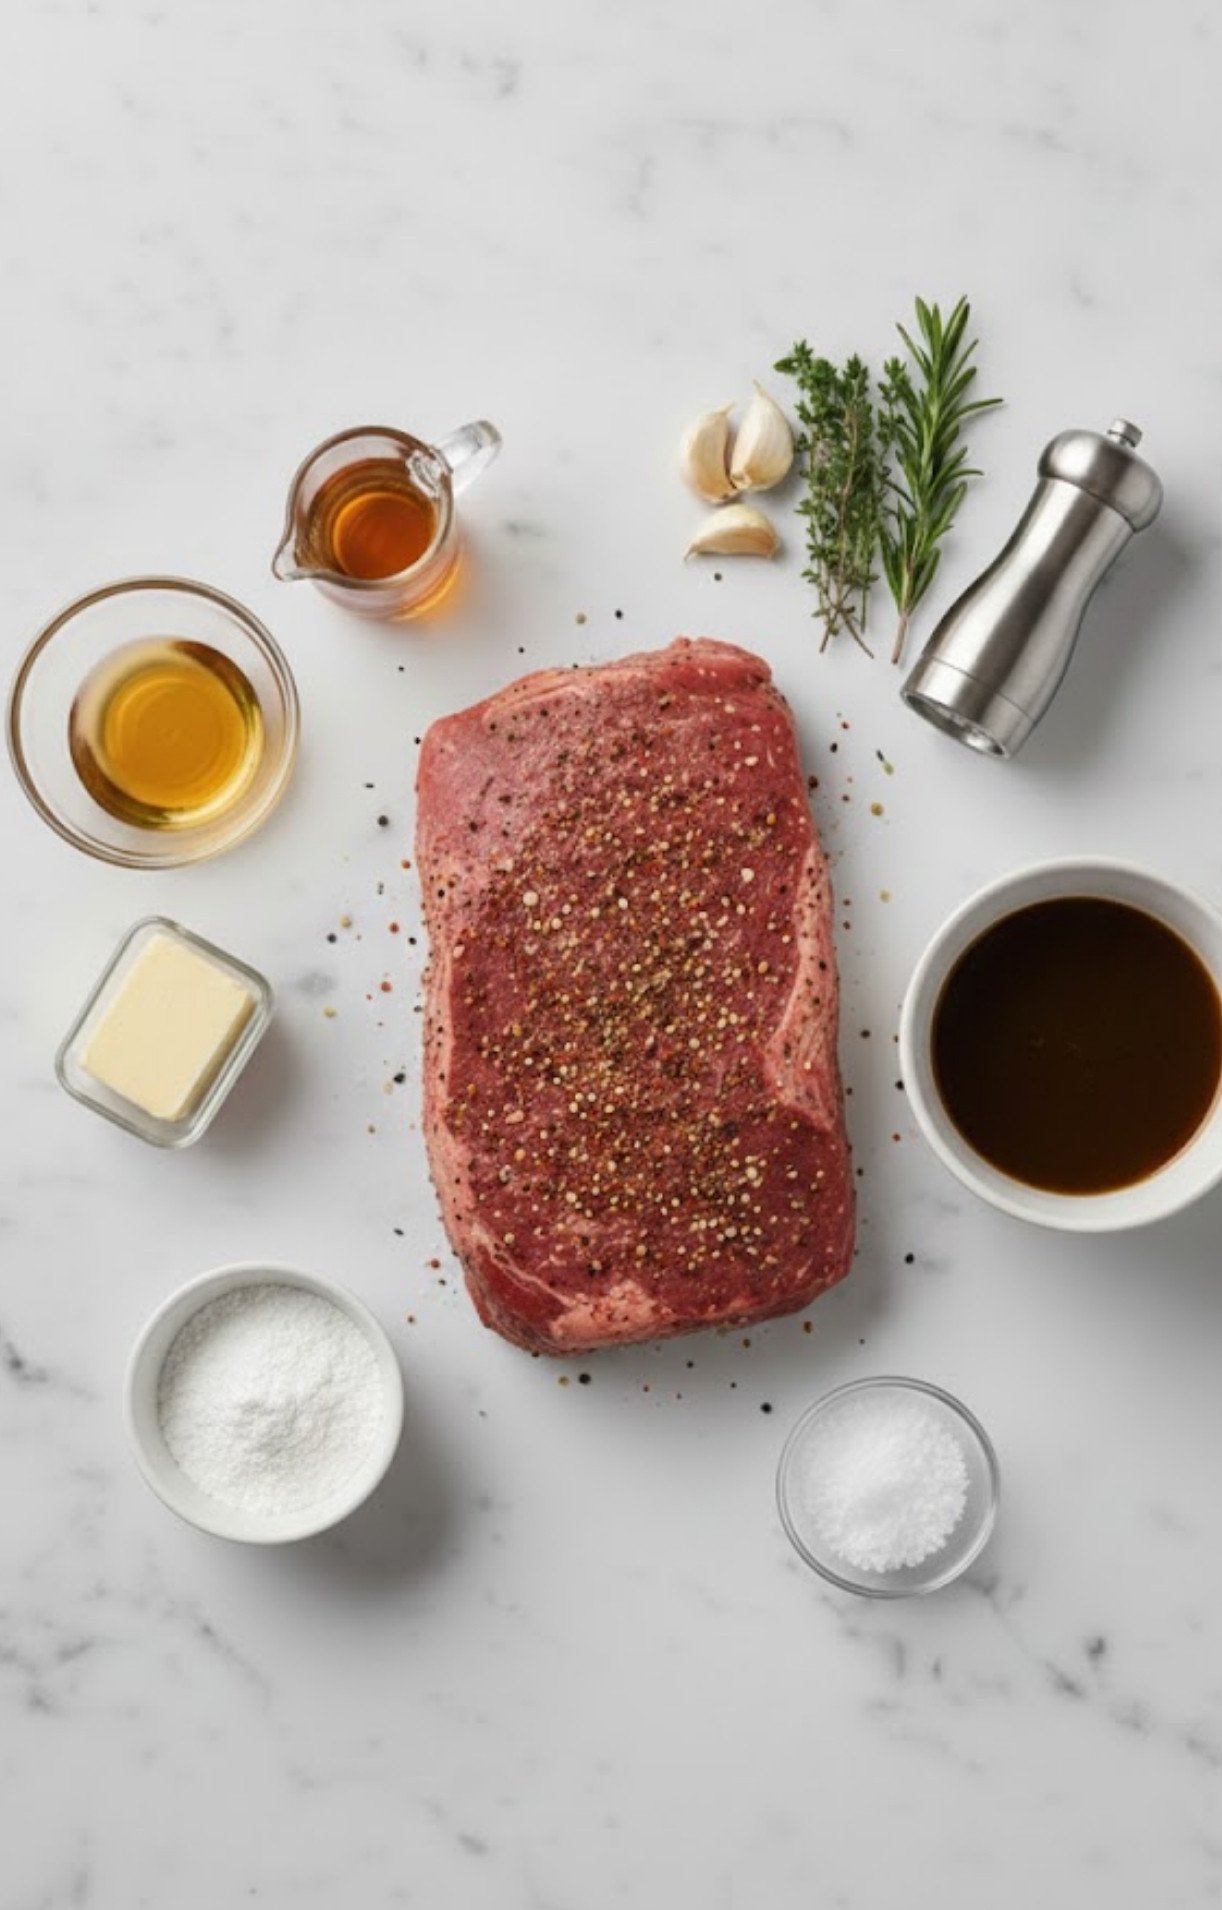
Ingredients
- Chuck roast, boneless (bone-in works; add 1–2 hours)
- Steak seasoning or a simple mix of kosher salt and coarse black pepper
- Neutral oil for searing (avocado or grapeseed)
- Unsalted butter and 2 teaspoon flour or 1 tablespoon cornstarch for gravy
- Sherry or ½ cup low-sodium beef stock to finish the gravy, optional
- Optional aromatics for the bag: 2 smashed garlic cloves, 2 sprigs thyme or rosemary
For precise amounts, check the recipe card at the end of the post.
Temperature and time guide — choose your texture
- 130°F for 24 to 48 hours — steak-like, sliceable with a slight bite.
- 135°F for 24 to 36 hours — tender and juicy, still sliceable.
- 145°F for 24 to 36 hours — slightly firmer, pot-roast-adjacent texture.
- 153°F for 18 to 24 hours — braise-like, shreddable and moist.
- 166°F for 12 to 18 hours — shredable with a drier finish.
Pick a target temperature based on how you want to serve the roast: thin slices, hearty slices, or tender shreds.
How to make sous vide chuck roast
Instructions
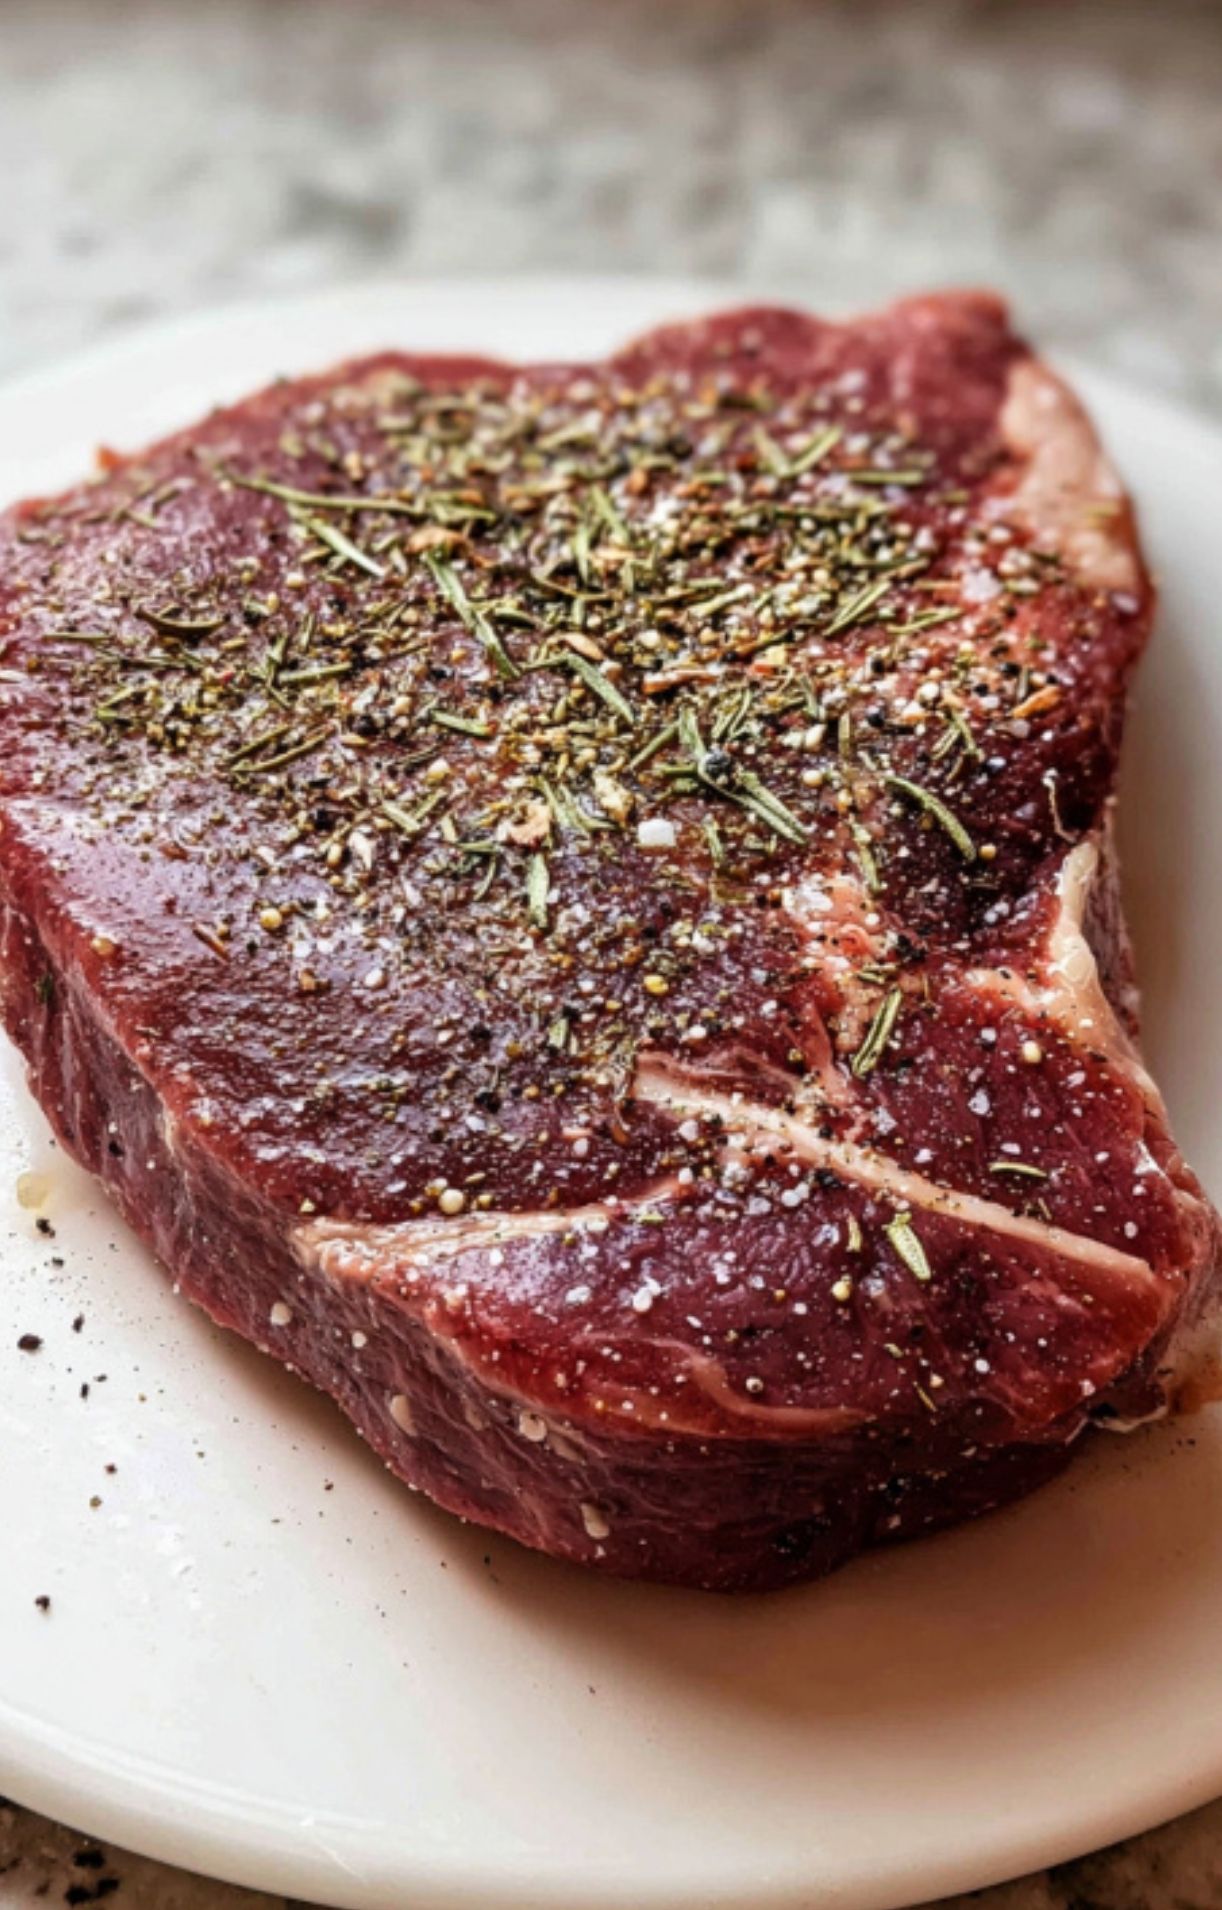
- Season and bag the roast
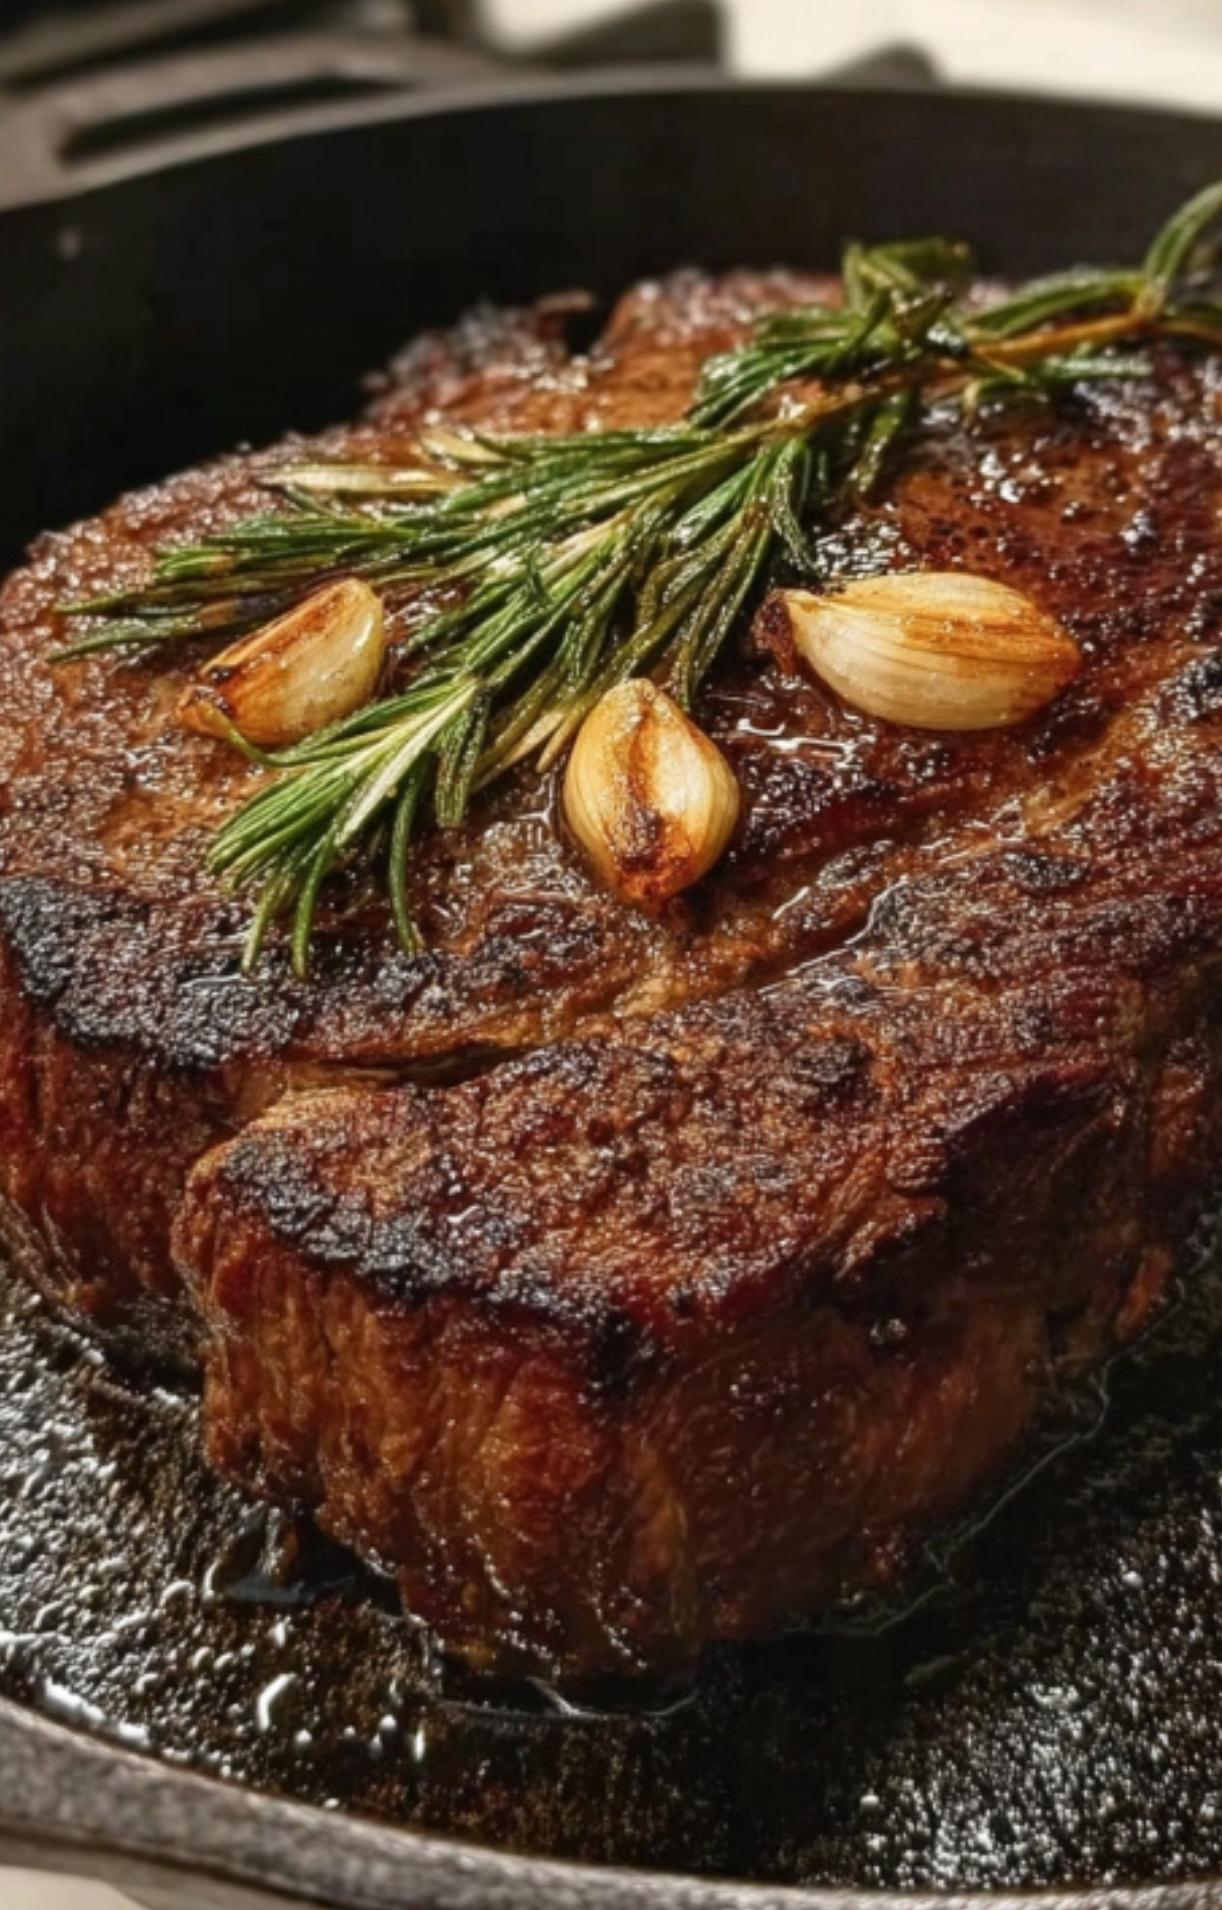
Pat the roast dry. Rub 1 to 1 ½ teaspoons kosher salt per pound evenly over the surface and follow with coarse black pepper. Add steak seasoning if using. Place the roast in a vacuum bag with smashed garlic and herb sprigs if you like. Remove air and seal.
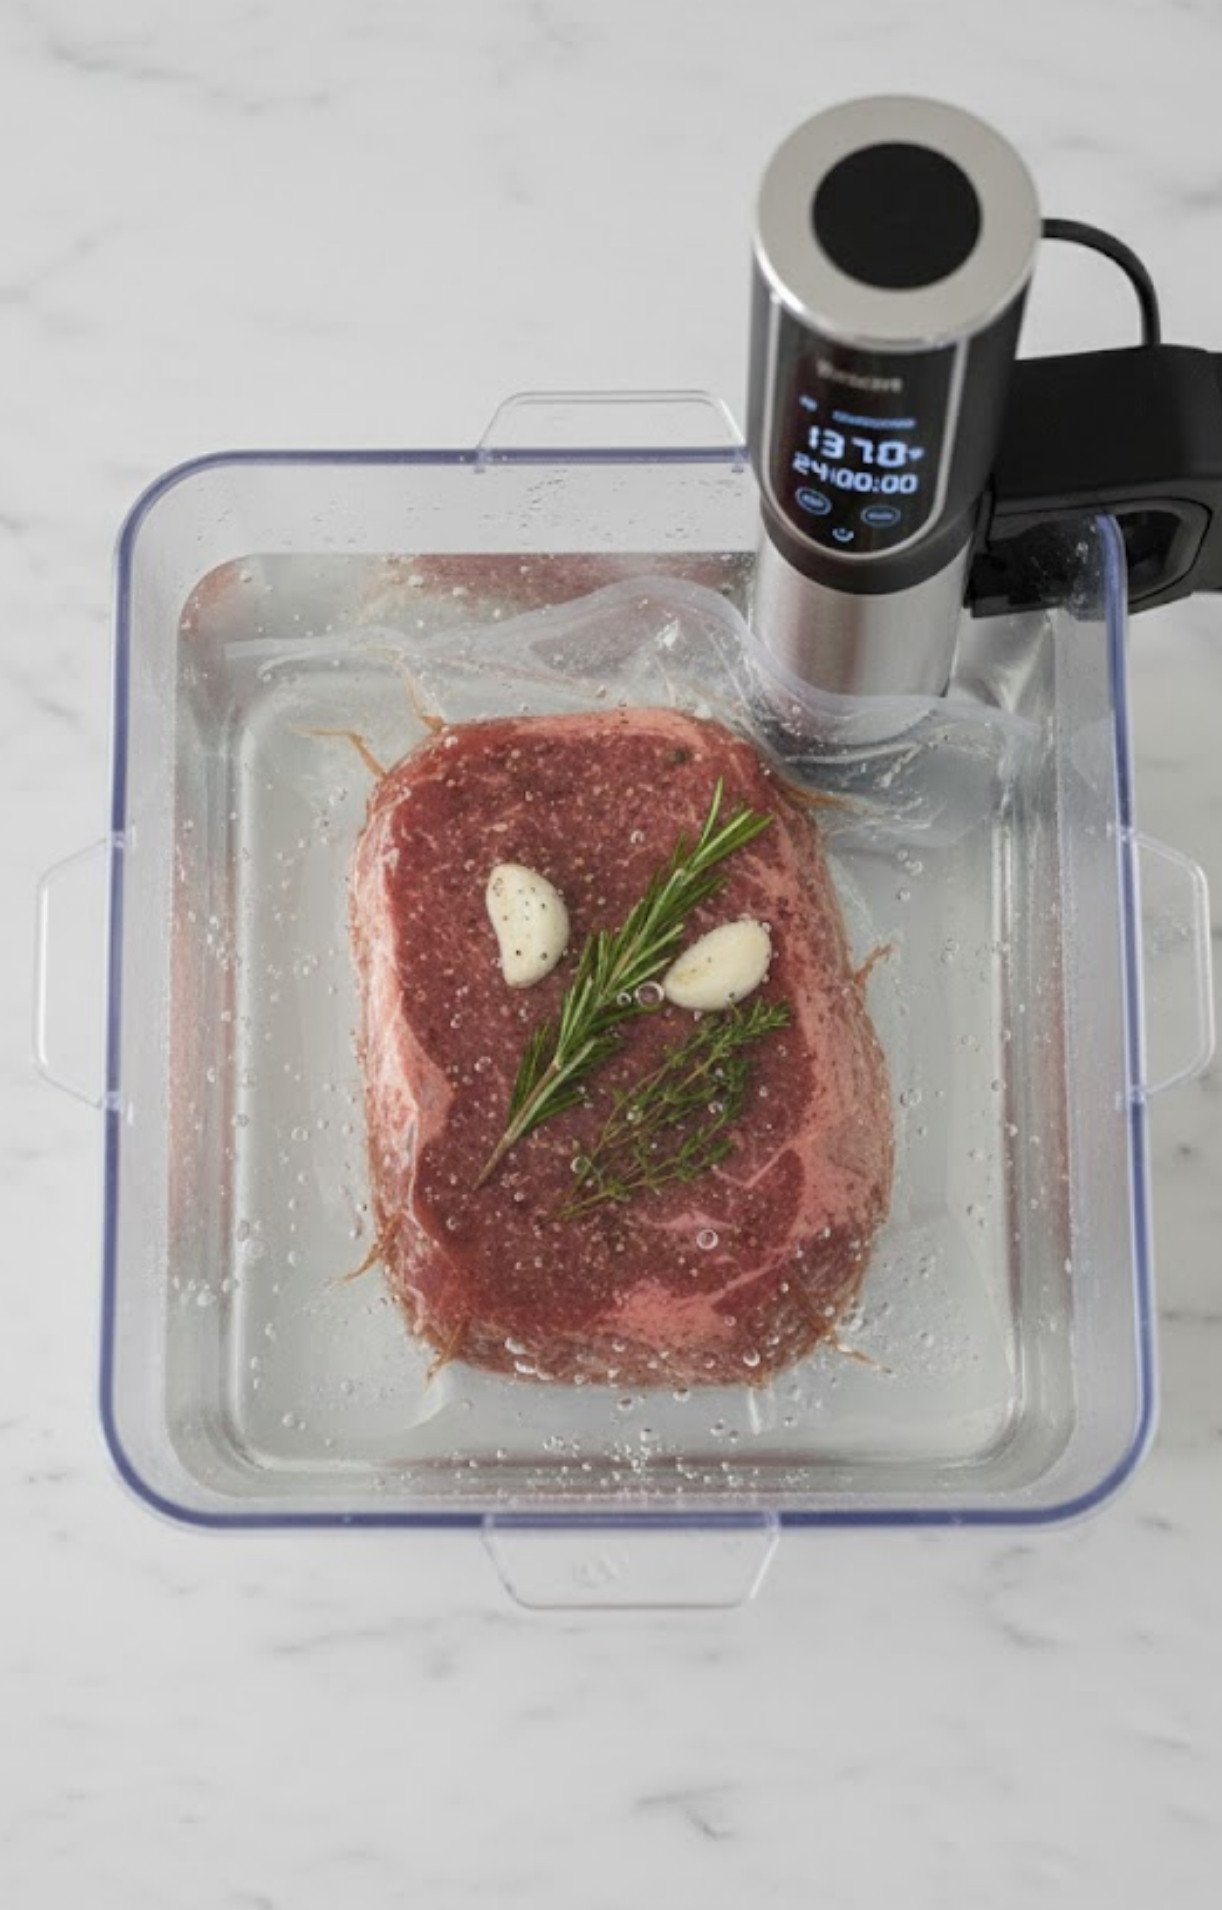
- Heat the water bath and cook
Fill your container and set the sous vide to the target temperature from the table above. Submerge the sealed roast, weighting if necessary so the bag stays fully underwater. Cook for the recommended time — 24 to 36 hours is a practical sweet spot for most home cooks using 135°F to 145°F.
- Chill for storage or proceed to sear
If you are not serving immediately, place the sealed bag into an ice bath for 10 to 15 minutes, then refrigerate up to 5 days or freeze up to 3 months. To serve now, remove the roast from the bag, reserving the juices, and pat the meat thoroughly dry with paper towels. - Sear the roast for crust and color
Heat a cast-iron skillet or heavy pan until very hot. Add 1 to 2 tablespoons neutral oil and sear the roast 60 to 90 seconds per side to develop a brown crust. Do not crowd the pan. A quick torch sear or grill finish also works well.
- Make the gravy from the bag juices
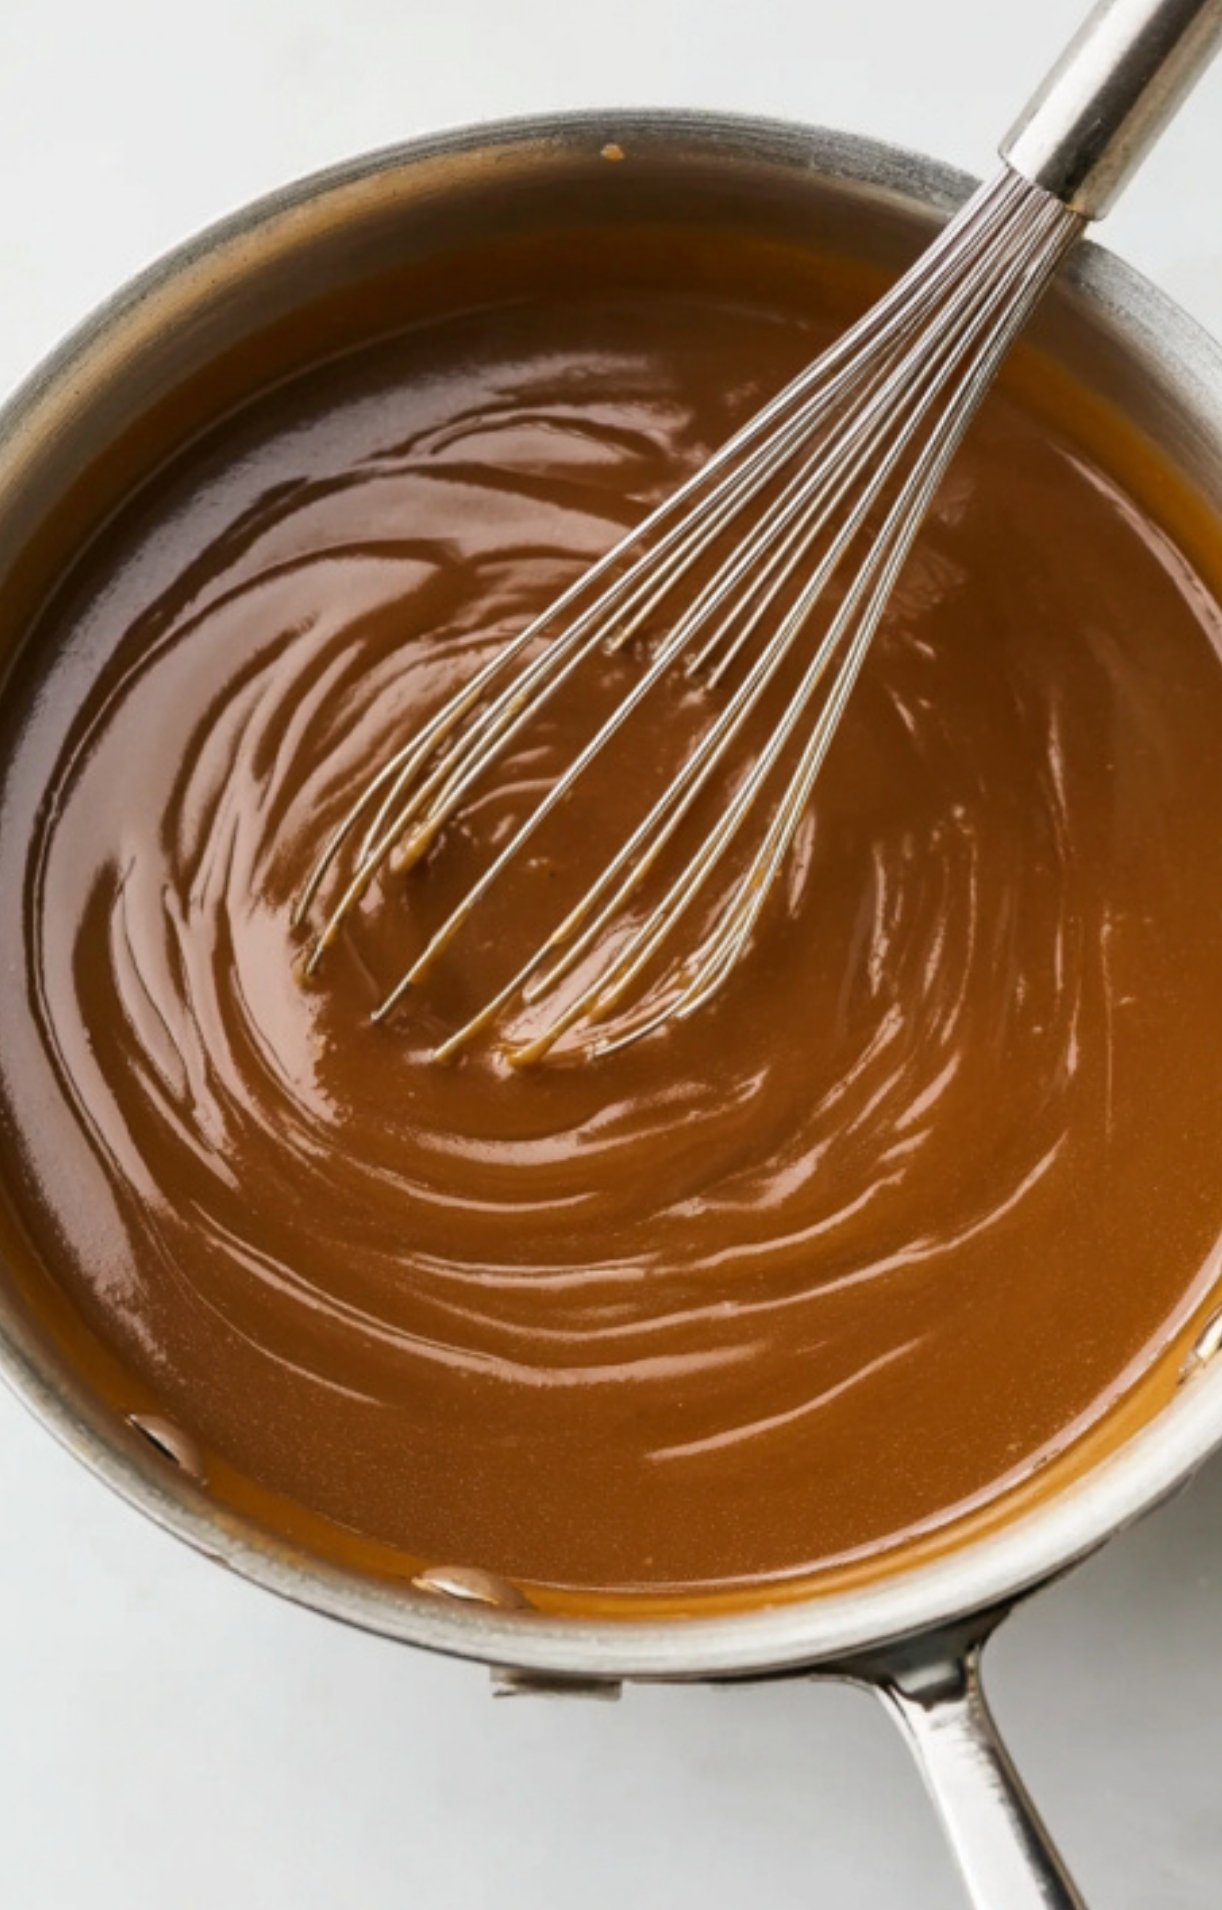
Strain the bag juices into a saucepan to remove solids. Skim fat if desired. Melt 2 tablespoons unsalted butter in a pan, whisk in 2 teaspoons flour until a paste forms, then gradually whisk in the bag juice and 1 tablespoon sherry or beef stock if using. Simmer until thickened. Adjust seasoning.
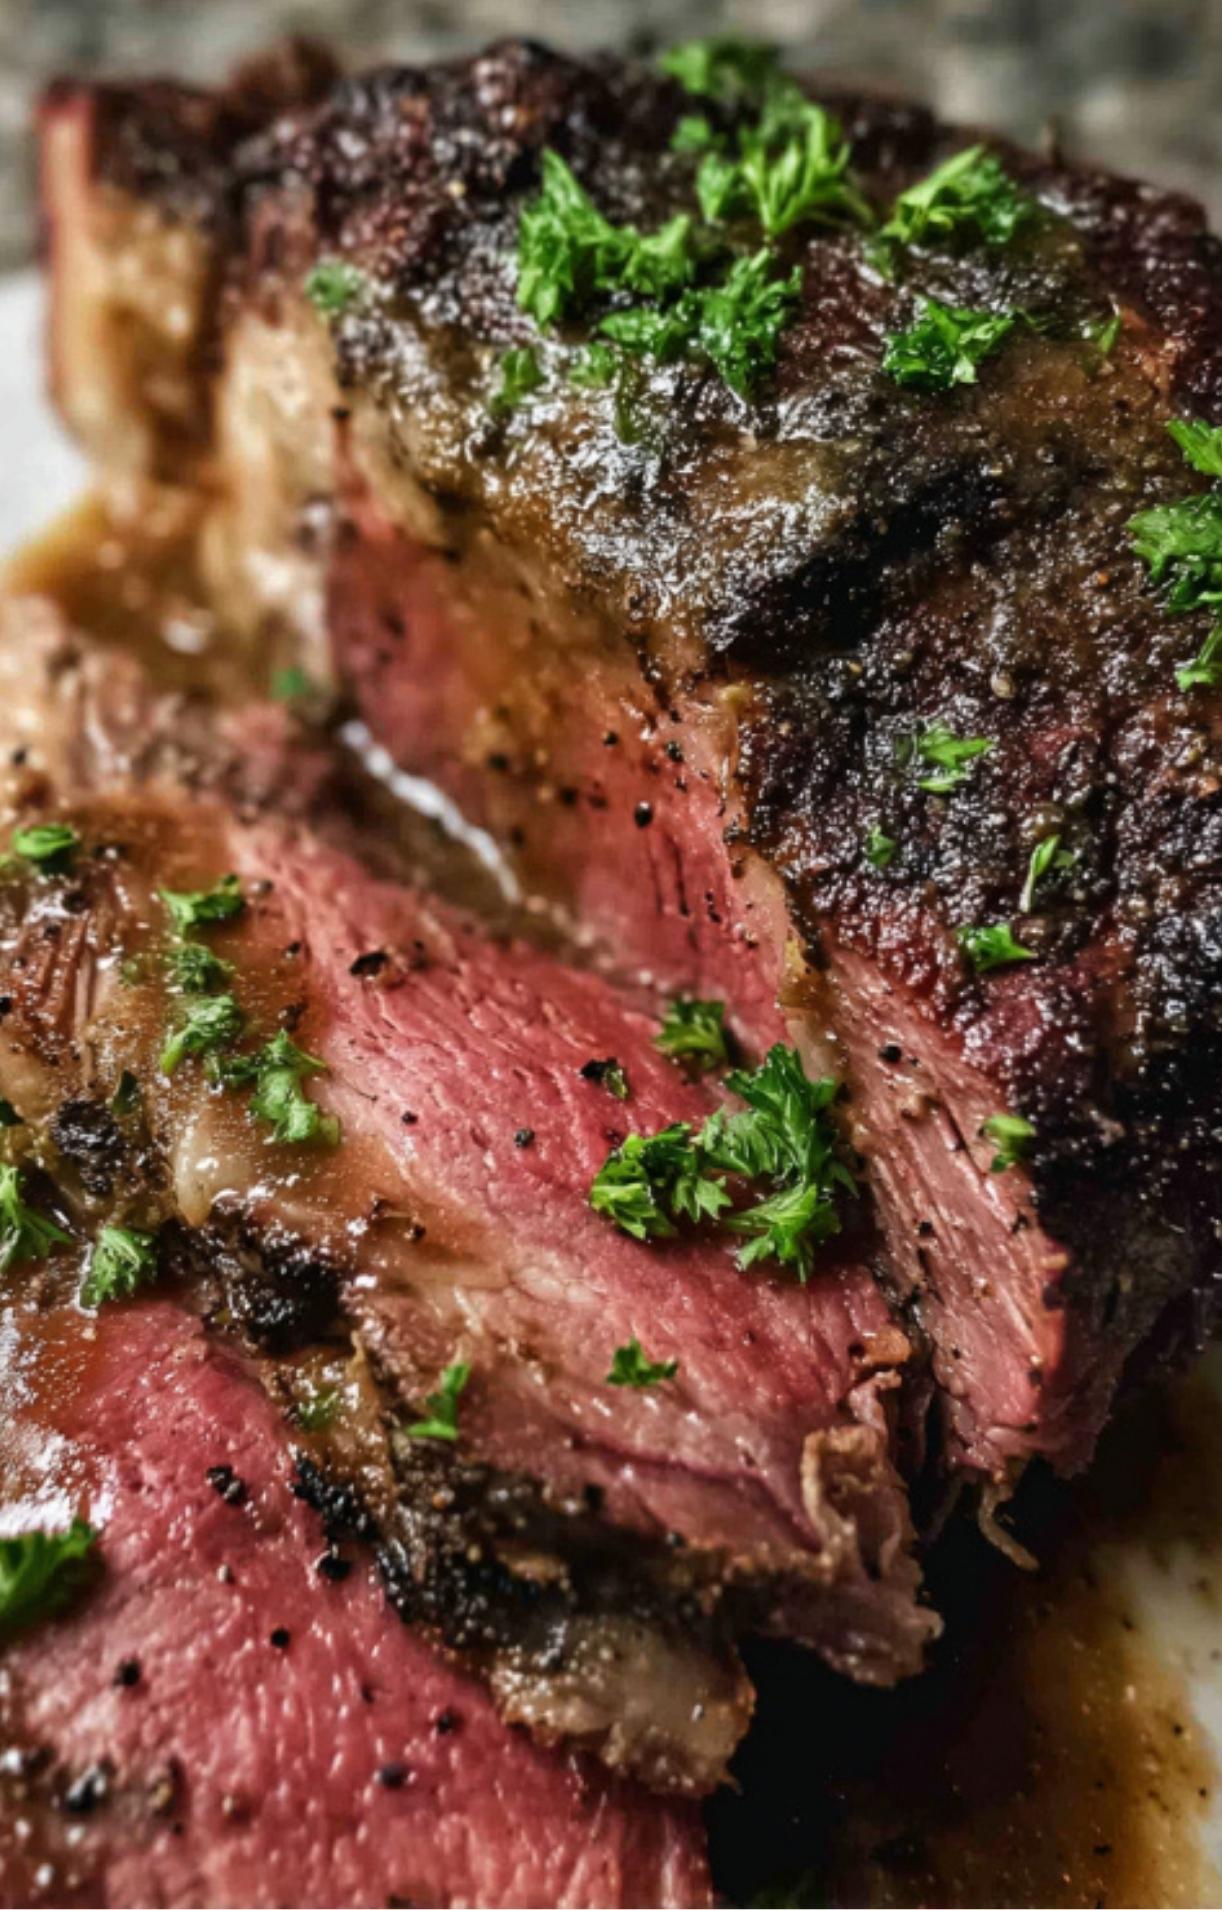
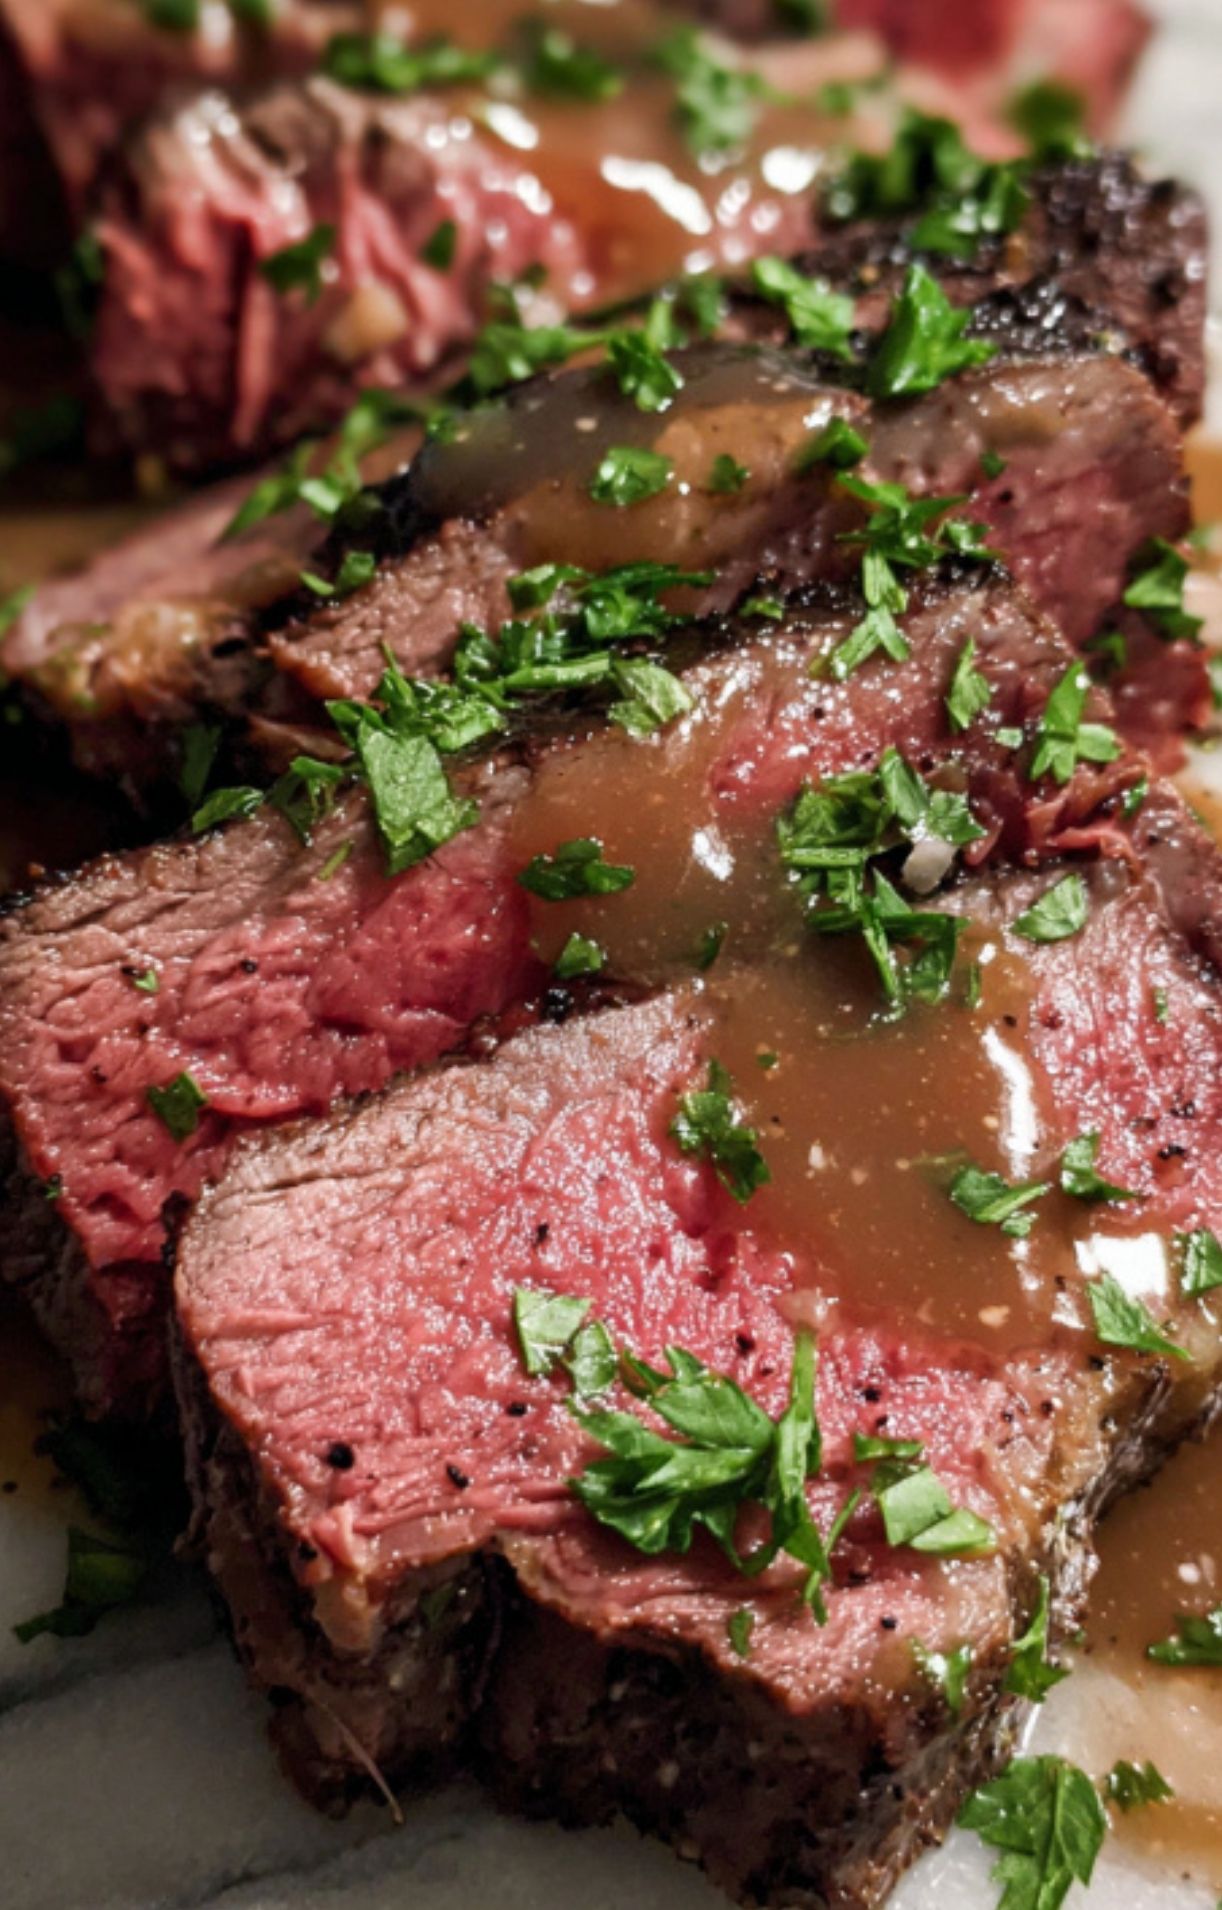
- Slice, shred, or serve whole
Slice thin across the grain for a prime-rib-like presentation, or shred with forks for tacos, sandwiches, or comfort bowls. Spoon warm gravy over the meat.

Sous Vide Chuck Roast
Turn an affordable chuck roast into prime-rib-like slices with perfectly even doneness using sous vide. This hands-off method delivers tender, juicy beef edge to edge with a quick sear and an easy gravy made from the bag juices.
Ingredients
- 3 to 4 lb boneless chuck roast (bone-in optional; add 1 to 2 hours)
- 1 to 1 ½ teaspoon kosher salt per pound
- 1 to 2 tablespoon coarse black pepper or 2 to 3 tablespoon steak seasoning
- 2 smashed garlic cloves (optional)
- 2 sprigs fresh thyme or rosemary (optional)
- 1 to 2 tablespoon neutral oil for searing
- Reserved bag juices
- 2 tablespoon unsalted butter
- 2 teaspoon flour or 1 tablespoon cornstarch
- 1 tablespoon sherry or up to ½ cup low-sodium beef stock (optional)
Instructions
- Season the roast evenly with kosher salt and black pepper or steak seasoning. Add garlic and herbs to the bag if using. Vacuum-seal or use the water-displacement method.
- Preheat sous vide water bath to 135°F for sliceable or 153°F for shreddable texture. Submerge sealed roast and cook 24 to 36 hours depending on desired texture.
- If storing, chill in an ice bath and refrigerate. If serving, remove roast from bag, reserve juices, and pat meat very dry.
- Heat cast-iron skillet with oil over high heat until shimmering. Sear roast 60 to 90 seconds per side to develop a crust.
- Strain bag juices into saucepan. Melt butter, whisk in flour to form paste, then whisk in juices and sherry or stock. Simmer until thickened and season to taste.
- Slice across the grain for slices or shred with forks. Serve with warm gravy.
Notes
Cook time determines texture. 135°F for 24 to 36 hours yields tender slices, while 153°F for 18 to 24 hours creates shreddable beef. Double-bag for long cooks to prevent leaks. Cool in an ice bath before refrigerating up to 5 days or freezing up to 3 months. Reheat in sous vide at 135°F for 10 to 20 minutes before searing.
Nutrition Information
Serving Size 1 servingAmount Per Serving Calories 520Total Fat 38gSaturated Fat 15gTrans Fat 1gUnsaturated Fat 20gCholesterol 165mgSodium 620mgCarbohydrates 3gFiber 0gSugar 0gProtein 42g
Expert tips for fail-safe results
- Pat the meat very dry before searing. Moisture is the enemy of a good crust.
- Use a high-smoke-point oil and a screaming-hot pan so searing is fast and you do not overcook the interior. 60 to 90 seconds per side is usually plenty after sous vide.
- If you want a deeper Maillard reaction, do a quick butter baste during the last 15 to 20 seconds of searing.
- For a crosshatch crust on the roast for photos or presentation, rotate 45 degrees and sear again for a few seconds on the same side.
- If you prefer to keep everything ultra-hands-off, sear the roast before sous vide; the flavor is slightly different but still excellent. If you do this, let the roast cool slightly, then seal and sous vide.
Make-ahead, storage, and reheating
- Make-ahead: complete the sous vide step and chill the sealed bag in an ice bath, then refrigerate. Reheat by returning the sealed bag to a 135°F water bath for 20 to 30 minutes, or sear and warm in a 300°F oven for 10 to 15 minutes.
- Refrigeration: sealed and refrigerated, sous vide cooked roast keeps 4 to 5 days.
- Freezing: freeze sealed in the bag for up to 3 months; thaw overnight in the refrigerator before reheating in the sous vide.
- Reheating: return the sealed bag to a 135°F bath for 10 to 20 minutes to gently bring it back to temperature, then refresh the crust with a quick sear.
Portioning, serving ideas, and ways to stretch leftovers
- Sliced roast with mashed potatoes and pan gravy for a classic plate.
- Warm sandwiches or French dip with au jus made from the bag juices.
- Shredded for tacos, enchiladas, or sloppy joes.
- Thin slices on a salad bowl with roasted veggies, pickled onions, and a drizzle of chimichurri.
- Weeknight bowls: rice or mashed sweet potatoes, roasted greens, sliced roast, and a spoon of gravy or salsa verde on top.
Troubleshooting
- Roast tough after cook: check that the water bath maintained temperature; under-temperature will prevent collagen breakdown. If time was sufficient, return to the bath for an extra 6 to 12 hours.
- Bag leaks: always inspect your vacuum seal or use a double-bag and the water-displacement method for zip-top bags.
- Sear overcooks interior: ensure the roast is dry and your pan is very hot, and keep searing times short. Use an instant-read thermometer to reassure yourself of the internal temp if needed.
Safety notes
- Follow manufacturer guidance for your sous vide equipment. Maintain water level and avoid running the circulator dry.
- For food safety, when cooking between 130°F and 135°F, use longer times within the recommended ranges to ensure pasteurization. When in doubt, choose a slightly higher target temperature and shorter minimum time. If storing for later, cool the bag rapidly in an ice bath.
FAQ
For tender, sliceable results with a bit of bite, sous vide at 135°F for 24 to 36 hours. If you want more shred-able texture, raise to 153°F for 18 to 24 hours.
Yes. Increase the cook time by roughly 50 percent to ensure the center reaches temperature — so a 24-hour cook becomes roughly 36 hours. It is often easier to thaw in the refrigerator overnight and then start the sous vide for predictable timing.
Either works. Searing before sous vide builds flavor and an extra crust, but searing after sous vide gives the cleanest presentation and most pronounced final crust. If you sear before, cool and seal the roast before placing it in the water bath.
Dilute with neutral starches like mashed potatoes or rice, or slice and use in sandwiches with pickled vegetables and a yogurt or mustard sauce to balance saltiness.
Leave a Reply