
Ever wondered if you could make your own soya sauce recipe at home? With just a few ingredients, a little patience, and a spirit of culinary adventure, you absolutely can! Homemade soy sauce is rich, complex, and free from preservatives. The process is surprisingly easy but does require time to develop that signature deep umami flavor. Here’s how to do it, based on traditional methods.
Take full control of your pantry and skip the commercial additives by discovering how to make soy sauce yourself. Brewing your own batch allows you to craft a much cleaner, richer flavor profile that is entirely free from artificial preservatives, corn syrup, or hidden chemicals.
Why You’ll Love This Soya Sauce Recipe

You’re basically crafting a kitchen essential that brings bold umami and savory depth to everything from stir-fries to sushi. The homemade method means no additives—just pure flavor and the satisfaction of saying, “Yes, I made this myself!”
What You’ll Need
- Soybeans
- Wheat flour
- Sea salt
- Water
- Optional: dried chilies or jujubes for flavor depth (traditional in some recipes)
For precise amounts, check the recipe card at the end of the post.
Take your oven game to the next level by using this thick, savory sesame sauce as a luscious glaze for baked salmon, sheet-pan chicken thighs, or roasted winter squash. The natural oils caramelize beautifully under the heat, creating an irresistible, deeply aromatic crust.
How To Make Soya Sauce (Step-by-Step)
1. Preparing the Koji
- Steam soybeans until soft, then cool.
- Mix with wheat flour to form a dough.
- Shape the mixture into small cakes.
- Let the cakes ferment for a couple of days in a warm, humid environment—this cultivates koji, your fermentation starter.
2. Brewing the Mash
- Crumble koji cakes and mix with water to create a mash.
- Let the mixture ferment for 1–2 weeks, allowing natural enzymes to break down proteins and starches for flavor development.
3. Adding Salt and Long Fermentation
- Strain the mash through cheesecloth or a fine mesh, collecting the liquid (your base).
- Dissolve sea salt in the liquid to create a brine, let cool, and then return it to the mash.
- Let this mixture age for several months (the longer, the better the flavor).
4. The Grand Finale
- After aging, strain again to remove all solids.
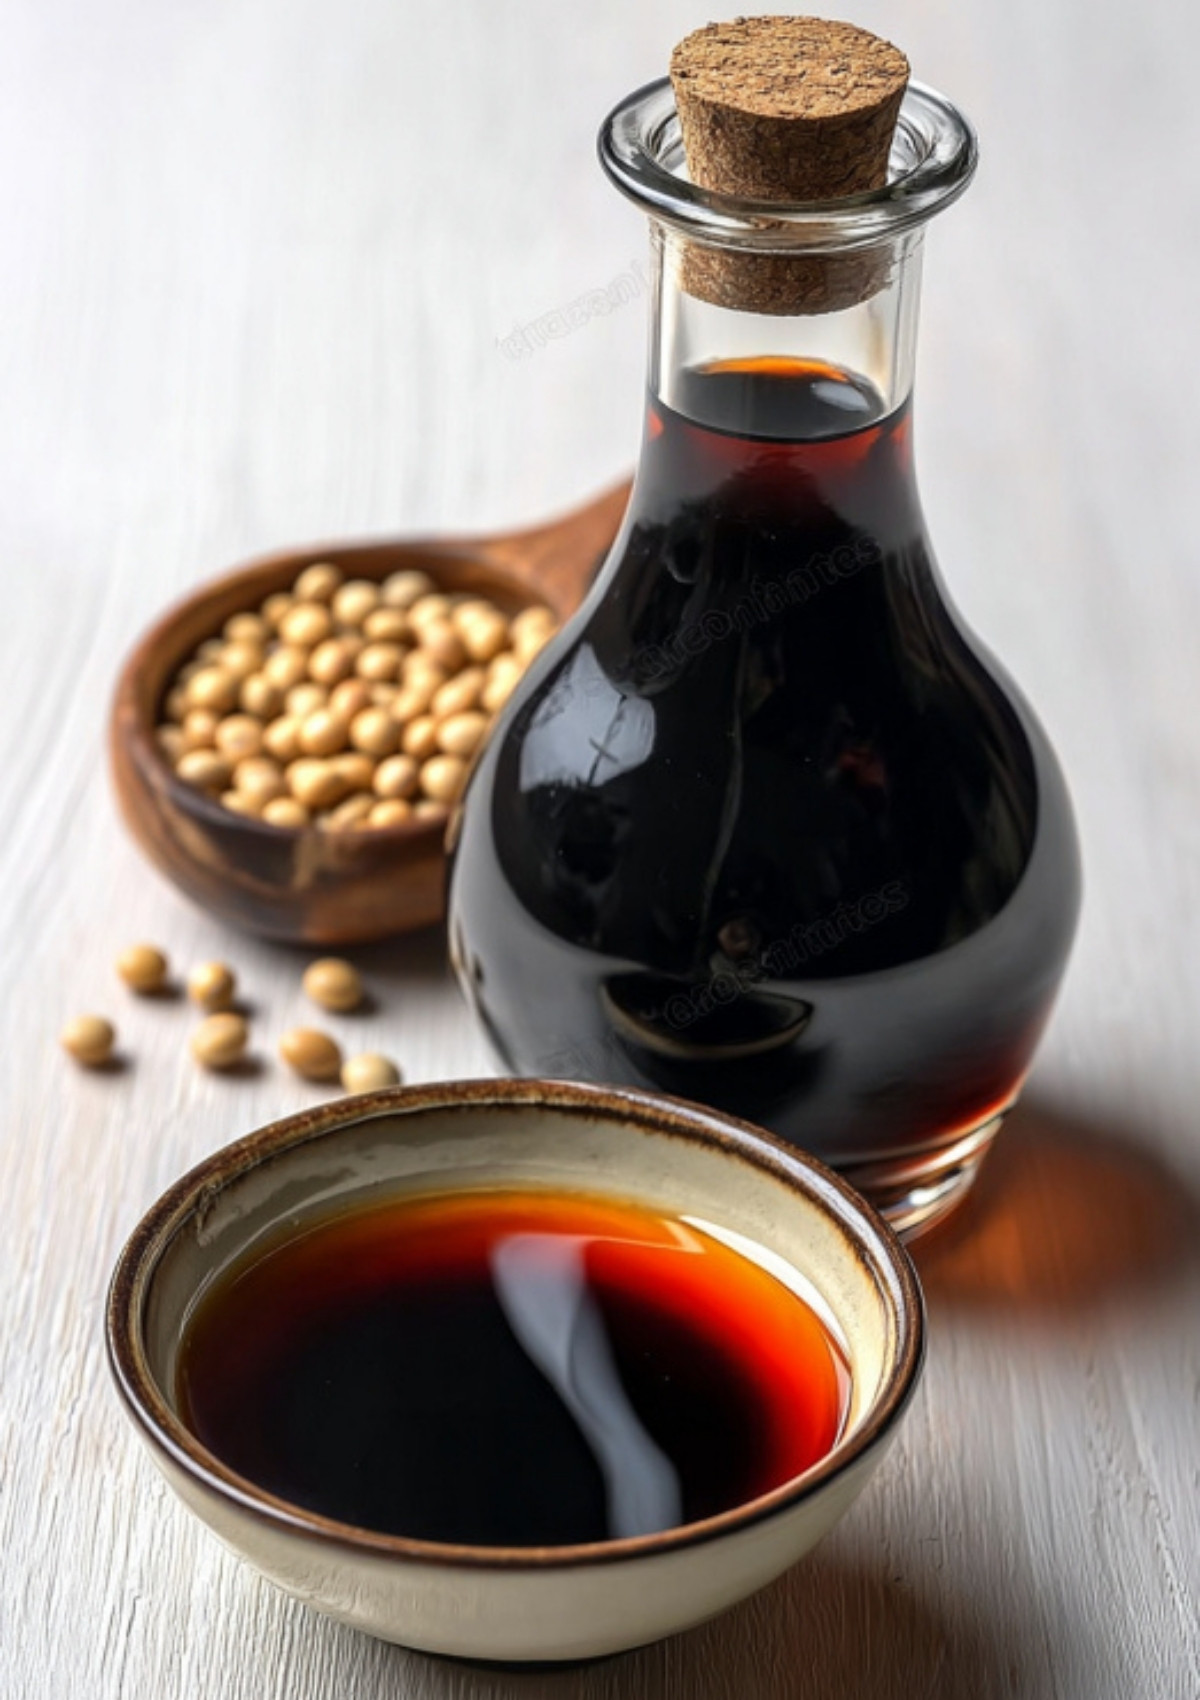
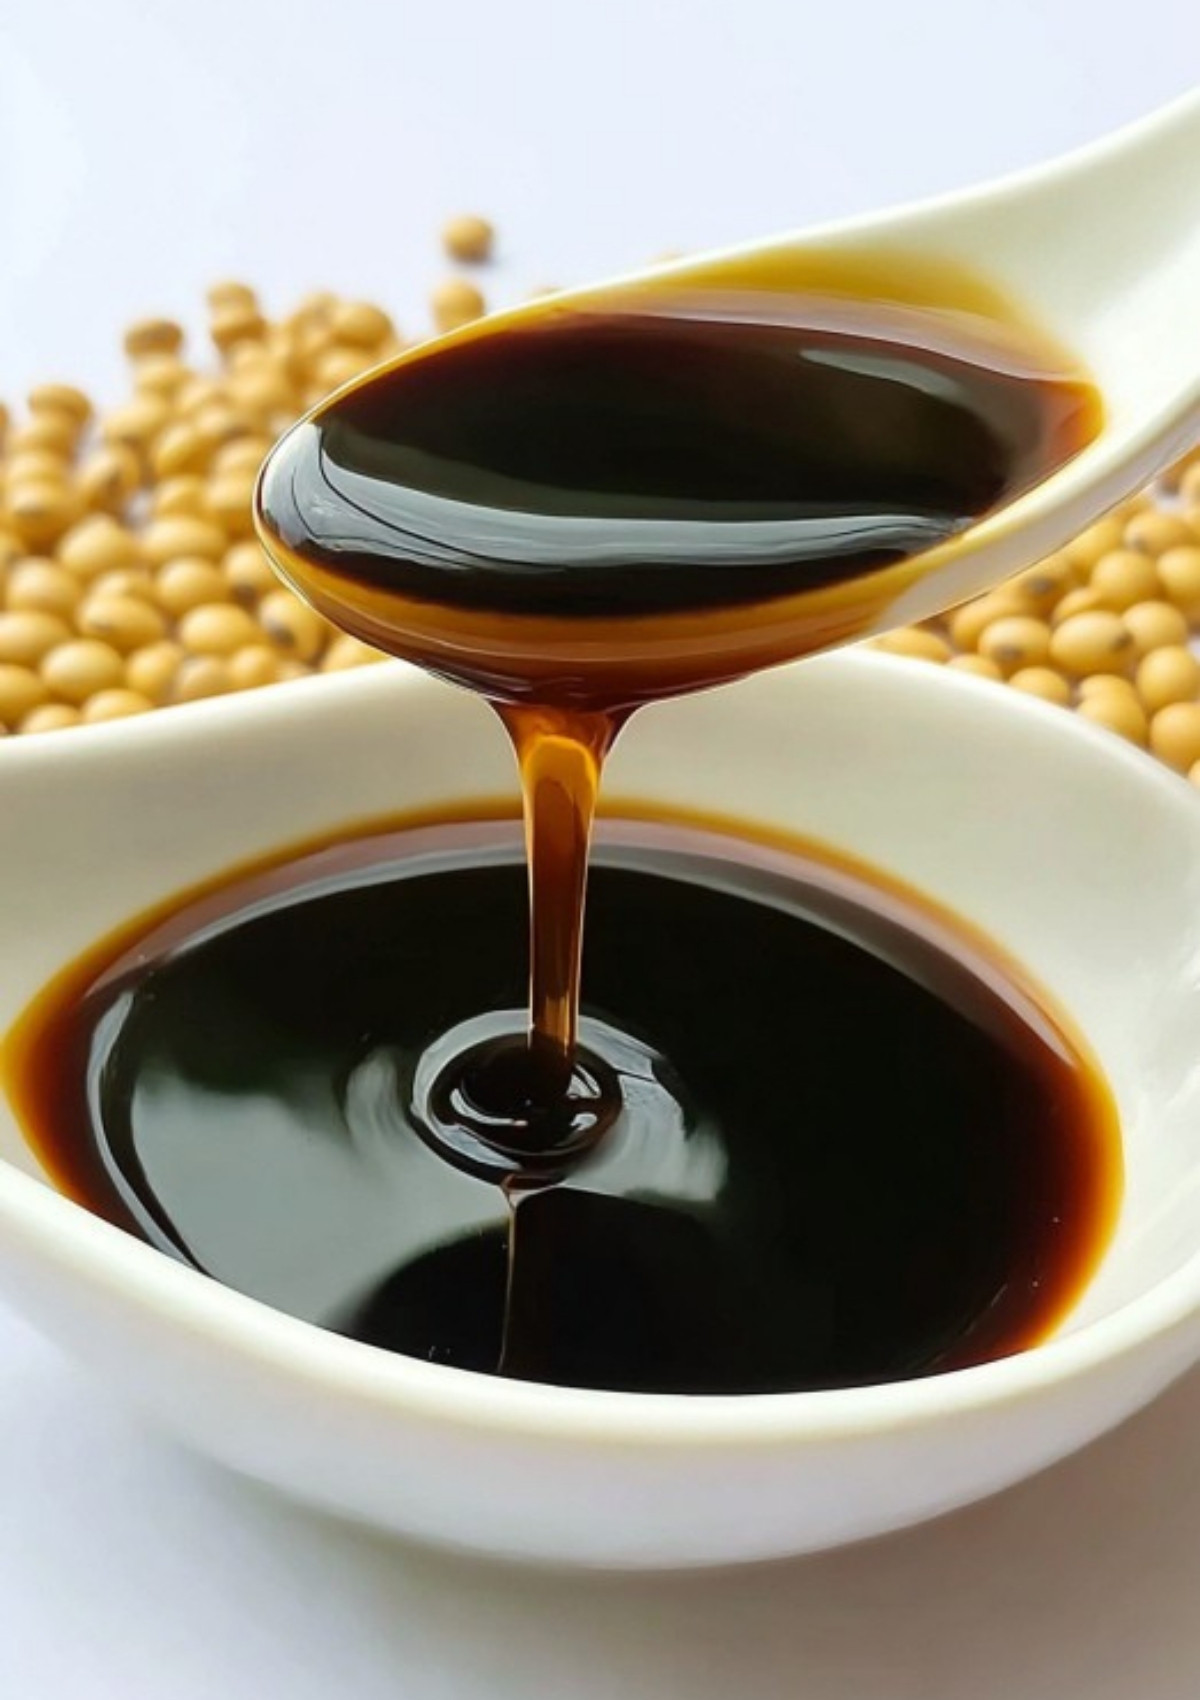
- Bottle the clear, dark liquid—your homemade soya sauce.
- For even more mellow flavor, let the bottled sauce age for a few additional months before use.
Take your backyard cookouts to the next level by swapping standard BBQ condiments for a rich, sweet-savory Japanese sauce. It caramelizes beautifully over an open flame, creating an irresistible, glossy char on grilled chicken skewers, pork chops, or charred summer veggies.
Top BBQ & Kitchen Picks
Tested, loved and recommended by our team ✨


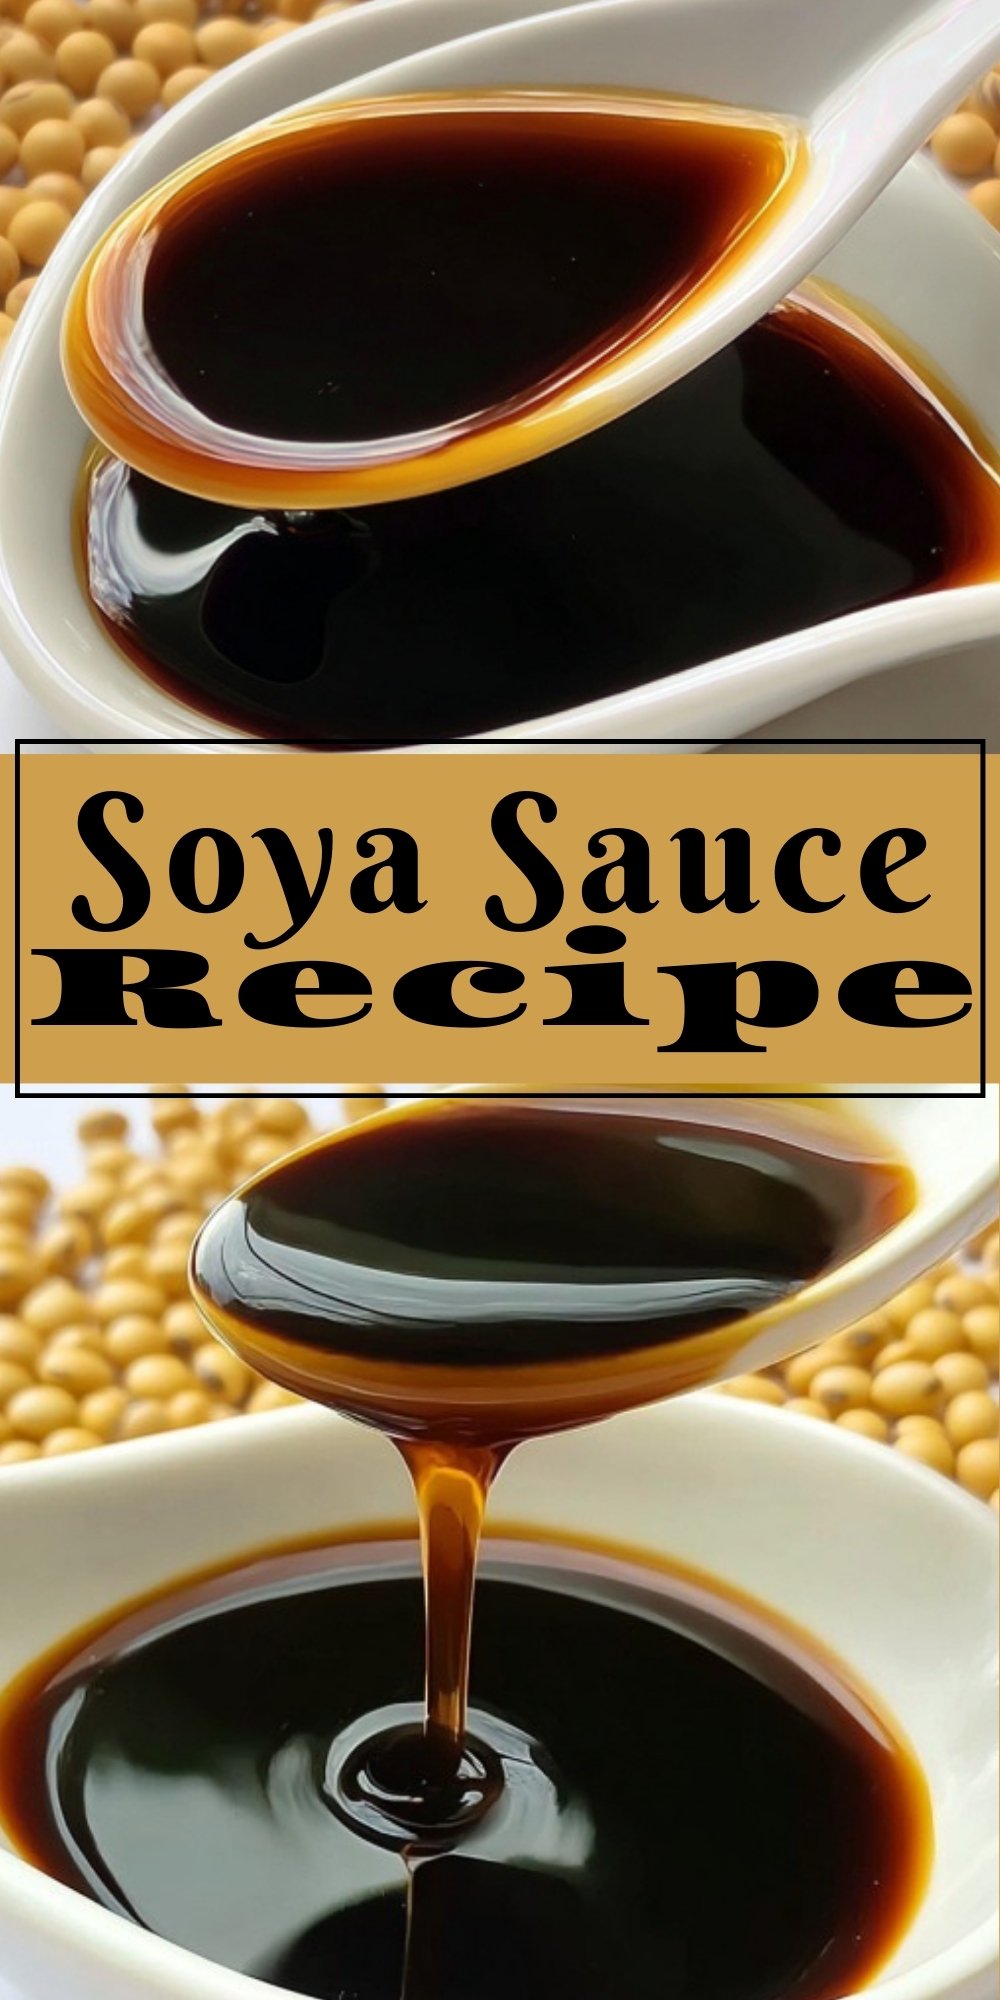
Soya Sauce Recipe
With just soybeans, salt, water and time, this traditional soya sauce recipe allows you to craft a deeply savory, preservative‑free condiment at home. The process takes patience, but the result is a richly flavoured sauce you’ll be proud to use and share.
Ingredients
- Soybeans
- Wheat flour
- Sea salt
- Filtered water
- Optional: dried chilies or jujubes for flavour depth
Instructions
- Steam soybeans until soft, then cool.
- Mix cooked soybeans with wheat flour, shape into small cakes and allow to ferment for 2 days in a warm, humid spot (this develops the 'koji').
- Crumble the koji cakes into water to form a mash and let ferment for 1–2 weeks, allowing enzymes to break down proteins and starches.
- Strain the mash, dissolve sea salt into the liquid to form a brine, then return it to the mash and age for several months.
- After ageing, strain again to remove solids, bottle the dark liquid, and age further for best flavour.
Notes
Keep all equipment impeccably clean. Fermentation time affects the depth of flavour—longer is better. The salt level must be sufficient to prevent spoilage. This process is a kitchen project rather than a quick condiment fix.
Nutrition Information
Serving Size 1 tablespoonAmount Per Serving Calories 10Total Fat 0gSaturated Fat 0gTrans Fat 0gUnsaturated Fat 0gCholesterol 0mgSodium 920mgCarbohydrates 1gFiber 0gSugar 0gProtein 1g
Tips for Success
- Fermentation needs warmth: Keep your jars in a warm, dark spot for best results.
- Patience is key: The longer you ferment and age, the richer your soya sauce.
- Flavor tweaks: Vary the wheat or soy ratio for a lighter or darker sauce. Experiment with different salts for subtle flavor notes.
If you want to incorporate more seafood into your routine but dislike overpowering, fishy flavors, this delicate soy sauce fish is the perfect solution. The sweet, ginger-infused umami glaze beautifully mellows the dish, making it an incredibly approachable entry point for skeptical eaters.
Uses for Your Soya Sauce
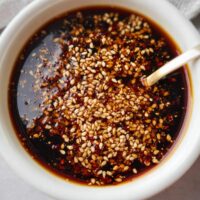
- Drizzle over sushi, noodles, or dumplings.
- Add to marinades, stir-fries, and soups.
- Use as a table condiment for dipping.
When you want a hot, comforting meal but absolutely dread doing the dishes, these effortless soy sauce noodles are your saving grace. Prepared, tossed, and served using minimal kitchen tools, this recipe gives you a rich dinner in minutes with almost zero cleanup standing between you and the couch.
FAQ
Yes! Make Tamari-style soya sauce by using only soybeans, salt, and water.
Properly fermented and strained soy sauce will last for months in the refrigerator.
Salt is crucial for fermentation and preservation—don’t skimp!
Leave a Reply